
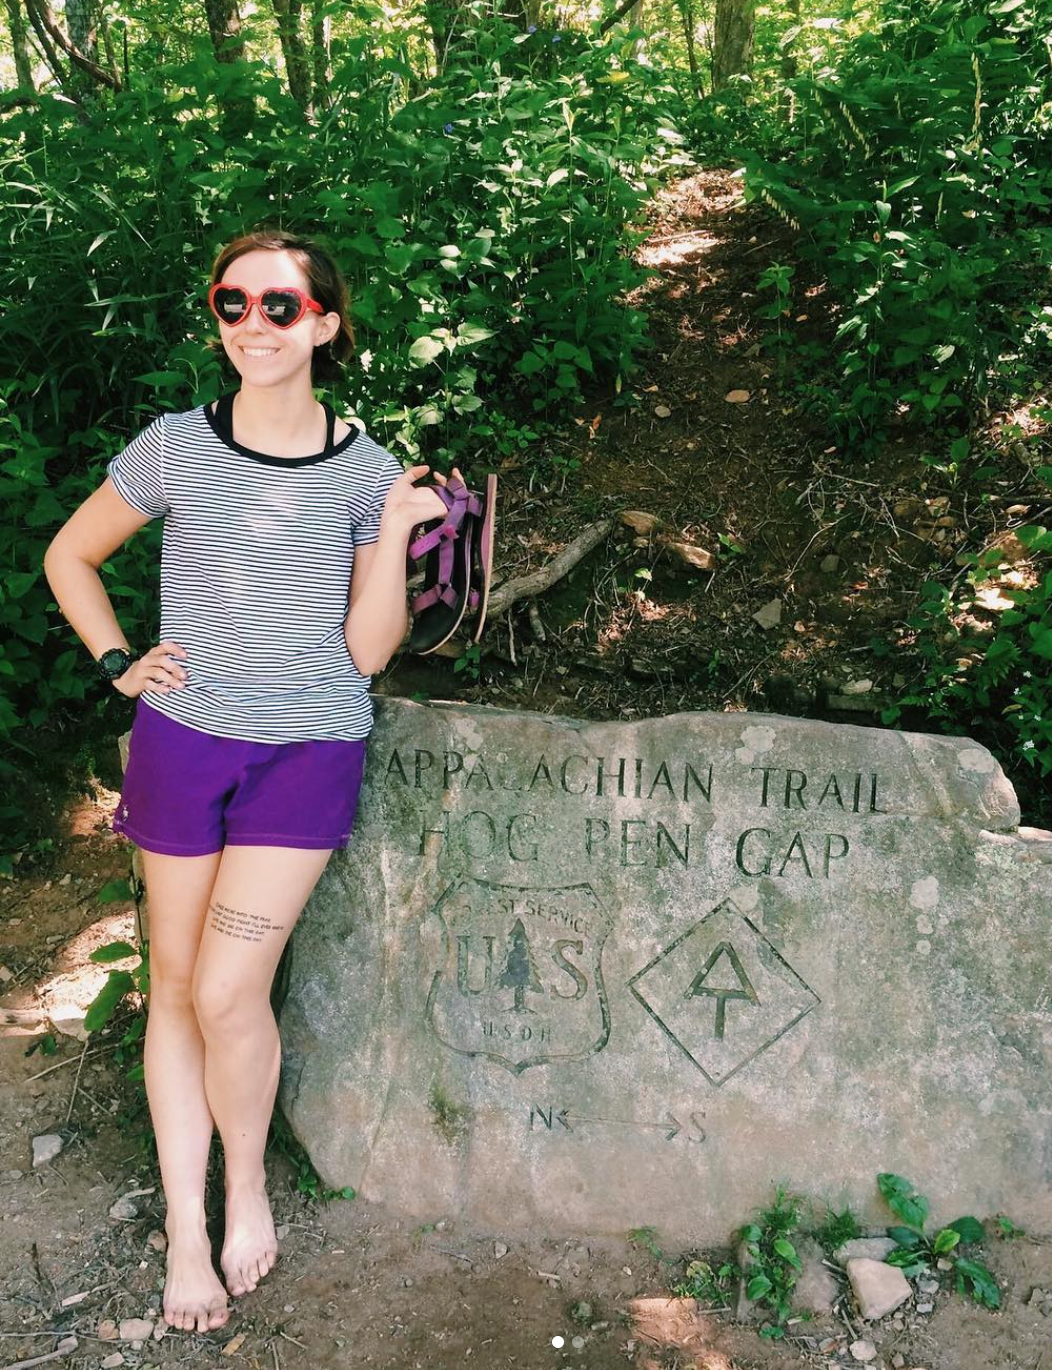
Hello everyone! Today I’m sharing with you the ultimate gear list for beginner backpackers, aka everything you need to start backpacking! Resources like this were super helpful when I first got into backpacking and camping, and I wanted to share my take on the must-have items every beginner backpacker should have in their toolkit. When possible, I’ve linked gear that I have personally used on the trail and recommend to fellow backpackers. I would love to do future posts where I discuss each category of gear more in-depth, so please let me know if that’s something you’d be interested in!
Backpack/Camp Gear:

- Backpack with rain cover – there are many schools of thought on what kind of backpack is best. Some believe your pack should be as light as possible to reduce the total amount of weight you’ll be carrying, while others prefer budget-friendly packs and don’t mind carrying a little extra weight. Do some research, talk to employees at outdoor stores, and be prepared to go through some trial and error to find the right backpack for you!
- Trekking poles – there is some debate over whether trekking poles are a necessary backpacking item, but I personally would vote yes. On hikes with less elevation gain, they may not be a must-have, but I find them incredibly helpful on strenuous hikes to avoid extra soreness in my legs.
- Tent or hammock sleep system – personally, I prefer a tent sleep system over a hammock, because I find hammocks tend to be much colder and you can’t always guarantee you’ll have trees available to set up in a convenient area. Again, the specific tent you choose will largely depend on whether you’re sleeping 1 or 2+ people, how much weight you’re willing to carry, and your budget.
- Sleeping bag – a good sleeping bag is a necessity if you want to stay warm on your backpacking trips. To determine what temperature rating you’ll need, consider where your backpacking trips will typically be, and what time of year you plan on going.
- Sleeping pad – sleeping pads are beneficial not only for comfort, but also for warmth. Laying directly on the ground, even with layers of clothes and a sleeping bag in between, is much colder than sleeping atop a pad. Typically, sleeping pads will either be inflatable or made of some kind of foam-like material that you can roll or fold up.
- Inflatable pillow – while some may go without an inflatable pillow, I always make sure to pack one. They make your sleep setup much more comfortable which is important to make sure you’re well-rested throughout your trip.
- Patch repair kit – a patch repair kit is definitely a must-have, because you never know what could happen on the trail. A rip in your tent or a hole in your sleeping pad can be super annoying and unpleasant, so it’s important to have a patch repair kit that can at least get you to your final destination where you can reevaluate and see if you need to order new gear.
- Stuff sacks/dry bags – stuff sacks/dry bags are another item that will make your life on the trail much easier. They’re very helpful to keep your items organized and give them an extra layer of waterproof protection.
- Sitting pad (optional) – while a sitting pad is certainly an optional item to bring, I highly recommend throwing one on your pack. They’re typically very small and light, and they make a world of difference at the end of a long day of hiking.
- Tent footprint (optional) – a tent footprint is another item that I personally bring, but not everyone does. A tent footprint is super helpful if you have to pitch camp in a not ideal location where the ground may be slightly damp or not completely flat. Essentially, the footprint just offers another layer of protection between the ground and your tent (aka your home on the trail)!
Clothes:
- Merino wool undergarments – on the trail, there’s a saying that “cotton kills.” What this means is cotton clothes tend to hold onto moisture and stay damp for a long time which can lead to hypothermia. You’ll want to ensure as much of your clothing is moisture-wicking as possible, even your undergarments! Merino wool is a great material because it’s very breathable and dries quickly.
- Merino wool base layers – if you’ll be hiking in chillier conditions or in a location where the temperature tends to fluctuate, base layers are a must. Base layers are thermal layers that go under your other clothing to give you an extra layer of warmth. They’re especially helpful at night when you want to stay nice and warm for a good night’s rest.
- Moisture-wicking short/long sleeve shirts – layers are key when backpacking because weather tends to change and fluctuate. Moisture-wicking short and long sleeve shirts will give you plenty of options to dress accordingly and stay comfortable no matter the temperature.
- Athletic shorts – shorts are a great option because you can wear them on their own in warmer temperatures, or layer over your base layer leggings in lower temperatures. Just make sure they’re an athletic material that will dry quickly!
- Zip-off/convertible pants – although they’re not always the most fashionable, a pair of zip-off or convertible pants that you can transform into capris or shorts is a great item of clothing to invest in.
- Windbreaker – a windbreaker is another great clothing item to have if you need some protection from the wind but don’t want to commit to a heavy jacket. Windbreakers are super helpful for backpacking trips during the spring, when it may be sunny but with a slight chill in the air.
- Down jacket – your warmest clothing item will be your puffy/insulated jacket. These jackets vary greatly depending on weight and how insulated they are, but having a warm jacket to throw on makes all the difference on your backpacking trips. Since this is an outer layer, I also recommend opting for a bright color so that you can be easily spotted in a rescue situation.
- Rain gear (jacket or poncho) – rain gear is something you may not use often, but you’ll be very grateful to have when you do need to use it. Some backpackers prefer a rain jacket while others prefer ponchos, so it’s really up to you to decide.
- Toe/wool or synthetic socks – I find the best sock setup to avoid blisters is toe socks with wool or synthetic socks on top. Toe socks make a huge difference in keeping my feet dry and preventing uncomfortable friction between my toes. I also make sure to swap out my socks for a fresh set halfway through any hike that is longer than ~8 miles.
- Trail runners or boots – the trail runners versus hiking boots debate is another one that you’ll ultimately have to decide for yourself. Trail runners are typically lighter and offer more flexibility in your ankles which some find helpful. Hiking boots, on the other hand, offer more ankle support and are typically more durable. I tend to alternate depending on the type of terrain I expect to encounter.
- Sandals/water shoes – aside from your everyday hiking shoes, you’ll also want a pair of sandals/water shoes that you can easily slip on for water crossings and for hanging around camp. I love Tevas because they’re super lightweight and comfortable, but some people prefer Chacos or even Crocs.
- Cold weather gear – cold weather gear includes gloves, a beanie, and potentially a neck gaiter. I haven’t had to use my cold weather gear very often on the trail, but I always like to have them on me in case of emergencies or sudden, unexpected weather changes.
- Sunglasses/sun hat – on the opposite end of the spectrum, make sure you have the proper clothing items on hand in case of harsh sun. Sunglasses are especially helpful if you’ll be hiking in snowy areas where the sun will be reflecting off snow on the trail. I personally don’t use a sun hat, but I know a lot of people who like to have one on hand to avoid sunburns on their face.
- Shoe gaiters (optional) – shoe gaiters are a piece of clothing that not everyone deems essential, but that I personally use and recommend. Shoe gaiters are super helpful for keeping dirt and sand out of your shoes which can be a huge pain while hiking. They may not be the most important piece of gear you bring, but they do make a huge difference!
Food/Water:
- Water bottles/bladders – really, you can use any type of vessel you like to carry water, whether it’s a bladder or an actual bottle. I have a clean water bladder and a dirty (aka unfiltered) water bladder, and then I’ll typically carry two water bottles, one for plain water and one to add electrolytes to.
- Water filtration system – there are tons of water filtration systems out there, and they all have their pros and cons. I use the Platypus GravityWorks system where I essentially fill my dirty water bladder with water and either hold it or hang it so the water goes down a hose, through a filter, and into my water bottle or clean water bladder. I also carry water purification tablets in case something goes awry with my filtration system.
- Electrolytes – I highly recommend packing powdered electrolytes on backpacking trips that will be particularly strenuous or take place in warm weather. You’ll be sweating a lot and electrolytes will help keep you properly hydrated.
- Stove system/fuel – you’ll want some kind of stove system on hand unless you plan on cold-soaking all your food or eating items that don’t need to be heated at all. Jetboil is a really popular option because it heats up quickly, but the MSR PocketRocket is another great option if you prefer something lightweight. Also make sure that you pack the correct fuel, and enough of it!
- Collapsible cup/bowl – while some meals you can make in their original packaging, others you may have to pour into a cup/bowl. Having a collapsible set of dinnerware is really helpful, and they’re typically very lightweight and compact.
- Spork – this one is pretty simple and doesn’t need much explanation. Trust me, I once forgot my spork on a backpacking trip and it was quite the pain!
- Food – okay, this one should be pretty obvious. You’re going to be burning a lot of calories, so plan on eating a good amount each day to replenish your energy and fuel your muscles. Nowadays, you can buy pretty much any food you can think of in dehydrated form to take on your backpacking trips. Another great option is to dehydrate food at home, in the oven or with an actual dehydrator. Make sure you’re packing nutritious foods that you enjoy and will want to eat on the trail! I also find it helpful to bring instant coffee and/or tea bags as a little bit of a comfort from home, but this isn’t necessary.
- Bear bag or can – it’s always a good idea to pack your food and scented products in a bear bag or a bear can to keep away from your camp at night. Even in areas where bears aren’t very common, keeping your food in a bear bag or bear can will ensure other critters can’t get in and chow down on your food.
- Meal cozy – a meal cozy isn’t super essential, but it is very helpful in keeping your meals warm. You can purchase one or just YouTube how to DIY one yourself!
Toiletries:
- Travel size toothbrush/toothpaste – everyone is different when it comes to hygiene on the trail, but I always at the very least keep up the practice of brushing my teeth every morning and evening. You can find travel size goodies at any drugstore or supermarket!
- Toilet paper (or a reusable cloth)/trowel – you can either pack toilet paper in a ziplock to bring on your trip (remember to bring additional ziplocks to pack out your trash), or some people like to use a reusable cloth for their business. A trowel is also a necessity for going #2 and digging at least a 6-inch deep hole.
- Bug spray/sunscreen – while some people may skip the sunscreen in favor of clothes that offer sun protection, bug spray is always a must for me personally. Ben’s bug spray is the most effective brand I’ve found so far.
- Wet wipes – definitely not a necessity, but something I also make sure to bring along. Wet wipes are super versatile and convenient for cleaning up after using the restroom or just wiping down after a long, sweaty day.
- Travel size deodorant – I’ll be honest, I don’t always use deodorant if I’m going to be on the trail for more than a couple days, but it is nice to have the option if I’m feeling particularly stinky or plan to cross into civilization for whatever reason.
- Quick-drying towel – a quick-drying towel is another great option to have on hand if you need to take a dip or rinse off to really get clean.
- Camp soap – scent-free camp soap is really important to clean not only yourself but also any items that may get stinky or stained. Dr. Bronner’s is a super popular option among backpackers because it has a scent-free option, the ingredients are natural/biodegradable, and a little goes a long way.
- Hand sanitizer – honestly, it’s probably a good idea to carry hand sanitizer both on and off the trail!
Safety:
- Satellite communication device – this is one piece of gear that I highly recommend investing in. A satellite communication device is a great tool to have in case of emergencies, or to keep loved ones up to date on your travels. Even when you don’t have cell service, a satellite communication device will be able to send out messages that could potentially save your life in a dangerous situation.
- First aid kit – a first aid kit is another must-have item to keep in your pack. The size of the kit and the specific items in it can vary depending on what you’re concerned about, but I always recommend the basics: band-aids, Leukotape/sports tape for blisters, Ibuprofen, alcohol wipes, etc.
- Whistle – whistles are super cheap, super light, and super helpful in an emergency situation. Whistles can be used to help rescuers find your location and deter wildlife (or people) who may be too close for comfort.
- Power bank – a power bank is a great item to bring along to ensure all your electronics stay charged throughout your trip. I don’t typically bring headphones on my backpacking trips, but I do make sure to keep my phone charged, even if I’m not using it super regularly.
- Bear spray (sometimes optional) – depending on where you plan to hike, bear spray can be a good addition to your setup. Do some research on bear activity and standard practices for where you plan to be backpacking.
- Map/compass – a map of the area you’ll be backpacking in as well as a compass are essentials to ensure you have some kind of navigation system in a worst case scenario.
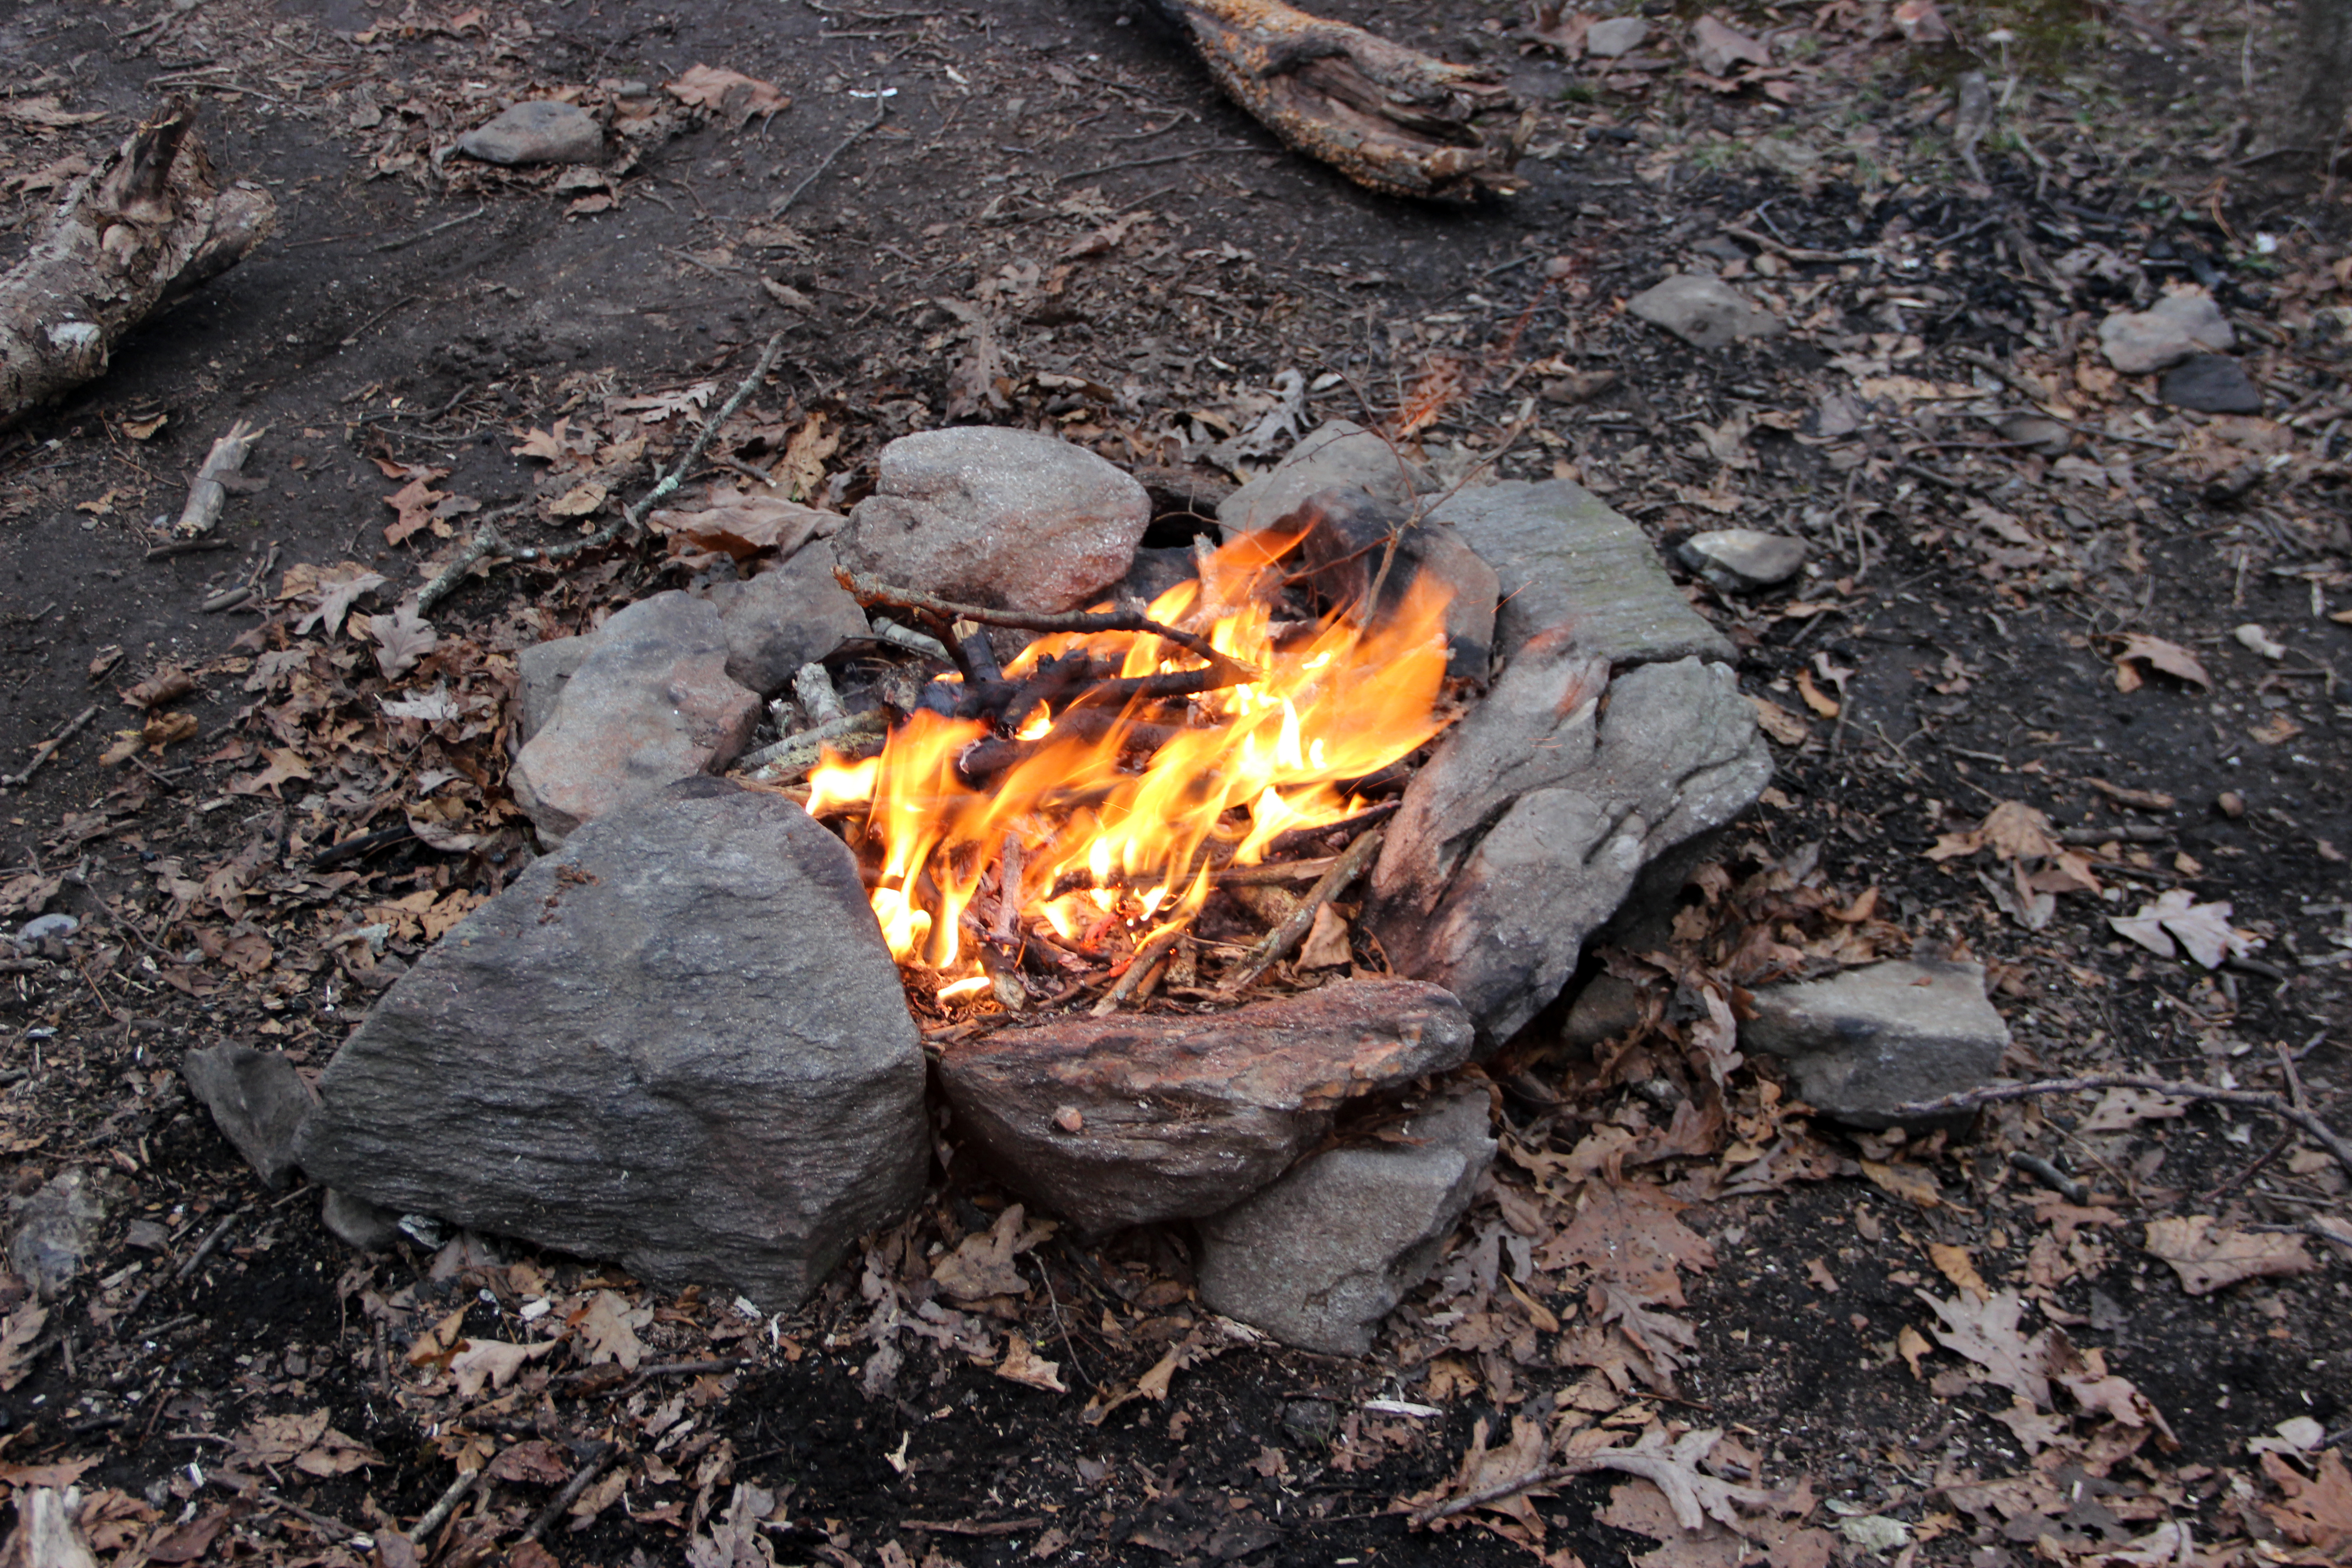
- Lighter/matches (in a waterproof container) and fire starter – having some means to make a fire is definitely a necessity, especially if you find yourself in a situation where you’re injured or stranded.
Miscellaneous:
- Sweat towel/bandana – one of my most used “random” items on the trail is a sweat towel that I keep clipped to the outside of my pack. As I’m hiking, it’s super convenient to just reach around and wipe the sweat off of my face/neck to feel a little refreshed.
- Ziplocks – you’re going to use way more ziplocks than you think, so you’ll want to bring a variety of sizes. Ziplocks are a great way to pack snacks and can be used as “trash bags” to pack out food waste, random trash, and anything else that you’ll need to dispose of in town. You’ll also want extras in case they tear or rip.
- Headlamp/flashlight – a headlamp is a great item to have for setting up camp in the dark, answering nature’s call in the middle of the night, and night hiking. Try to find a headlamp with a red light option, as this is less strain to your eyes after dark.
- Pocket knife/multi-tool – I haven’t had too many situations where I’ve had to use a pocket knife or multitool on the trail, but it is helpful to carry one just in case. Plus, there are plenty of lightweight options so you don’t have to worry about it adding too much extra weight.
- Solar-powered light source – a solar-powered light source can be a great item to bring along as a backup light source in case your electronics get damaged or lose their charge.
- GPS watch – a GPS watch is another piece of gear that’s on the more expensive side, but well worth the price tag in my opinion. Whichever brand you choose to go with, having a GPS watch is a great way to keep track of your location, mileage hiked, elevation lost/gained, and, of course, the time!
- Guide app/guide book – finally, downloading a guide/trail app or carrying a few relevant pages from a guide book can be a big help on the trail. FarOut, Outdoor Project and AllTrails are all examples of popular guide apps that backpackers can use. As far as guidebooks, there are tons available for almost any backpacking area you can think of. If possible, try to just rip out the pages relevant to where you’ll be hiking to cut down on weight!
And there you have it folks! I really hope this guide is helpful as you begin purchasing gear and preparing for your first couple backpacking trips. Of course, take this list with a grain of salt because everyone does things differently and at the end of the day, you have to hike your own hike and do what works best for you.

Such a wonderful and comprehensive guide that I wish I had years ago.
LikeLike