Creepy Georgia hikes, by travel blogger Wandering the Gap

5 Creepy Georgia Hikes to Tackle This Fall | Georgia Hiking Guide

With fall in full swing and spooky season right around the corner, there’s no better time to embark on some creepy Georgia hikes. Georgia boasts many exceptional trails that are best enjoyed when the air is crisp and the leaves are changing colors. From a remote island with centuries-old ruins to iconic peaks harboring horrific backstories, these are the most creepy Georgia hikes to tackle this fall.
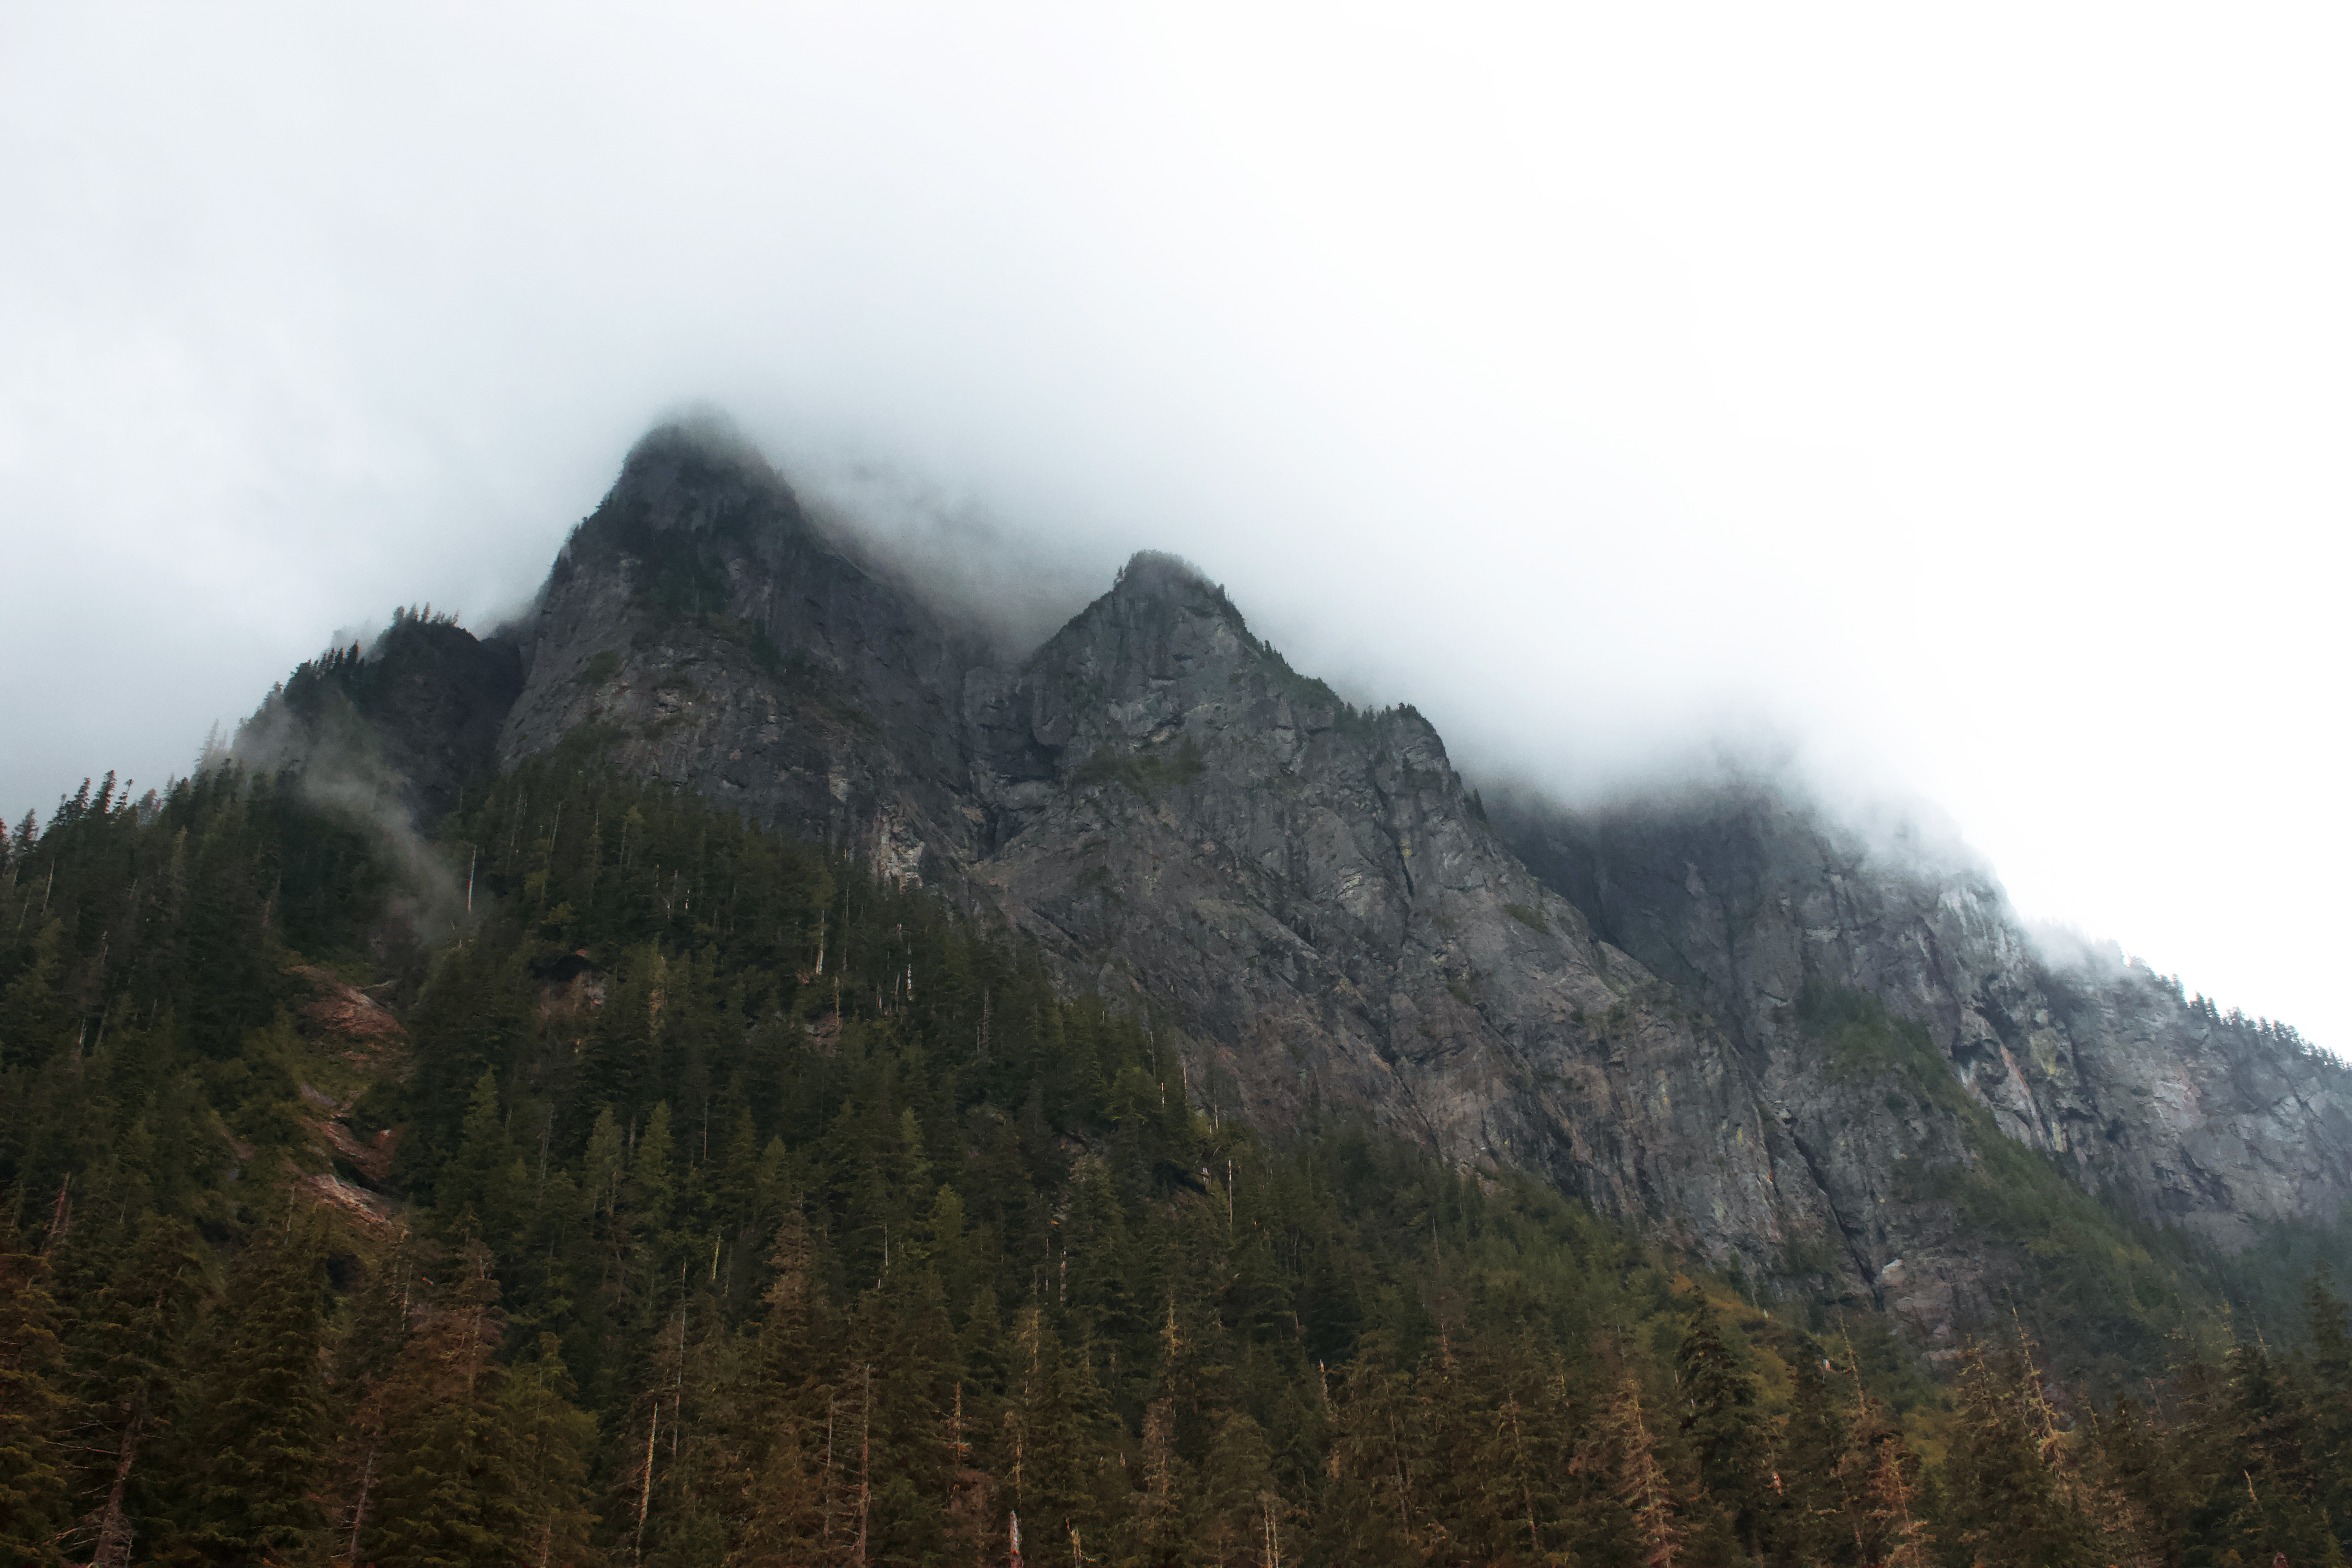
1. Blood Mountain

The name alone makes Blood Mountain a must-visit destination this October. As the tallest peak on the Georgia section of the Appalachian Trail, Blood Mountain is an excellent adventure for both long-distance backpackers and day-trippers. There are several routes to the summit, but the 4-mile-long trek along the Byron Reece Trail is one of the most popular.

According to Cherokee mythology, the mountain was once home to Nunnehi, or spirit people. Some claim Blood Mountain earned its name from a 1700s-era battle between the Cherokee and Muscogee (Creek) Nations. Others, meanwhile, attribute it to the red lichen that grows atop the summit.

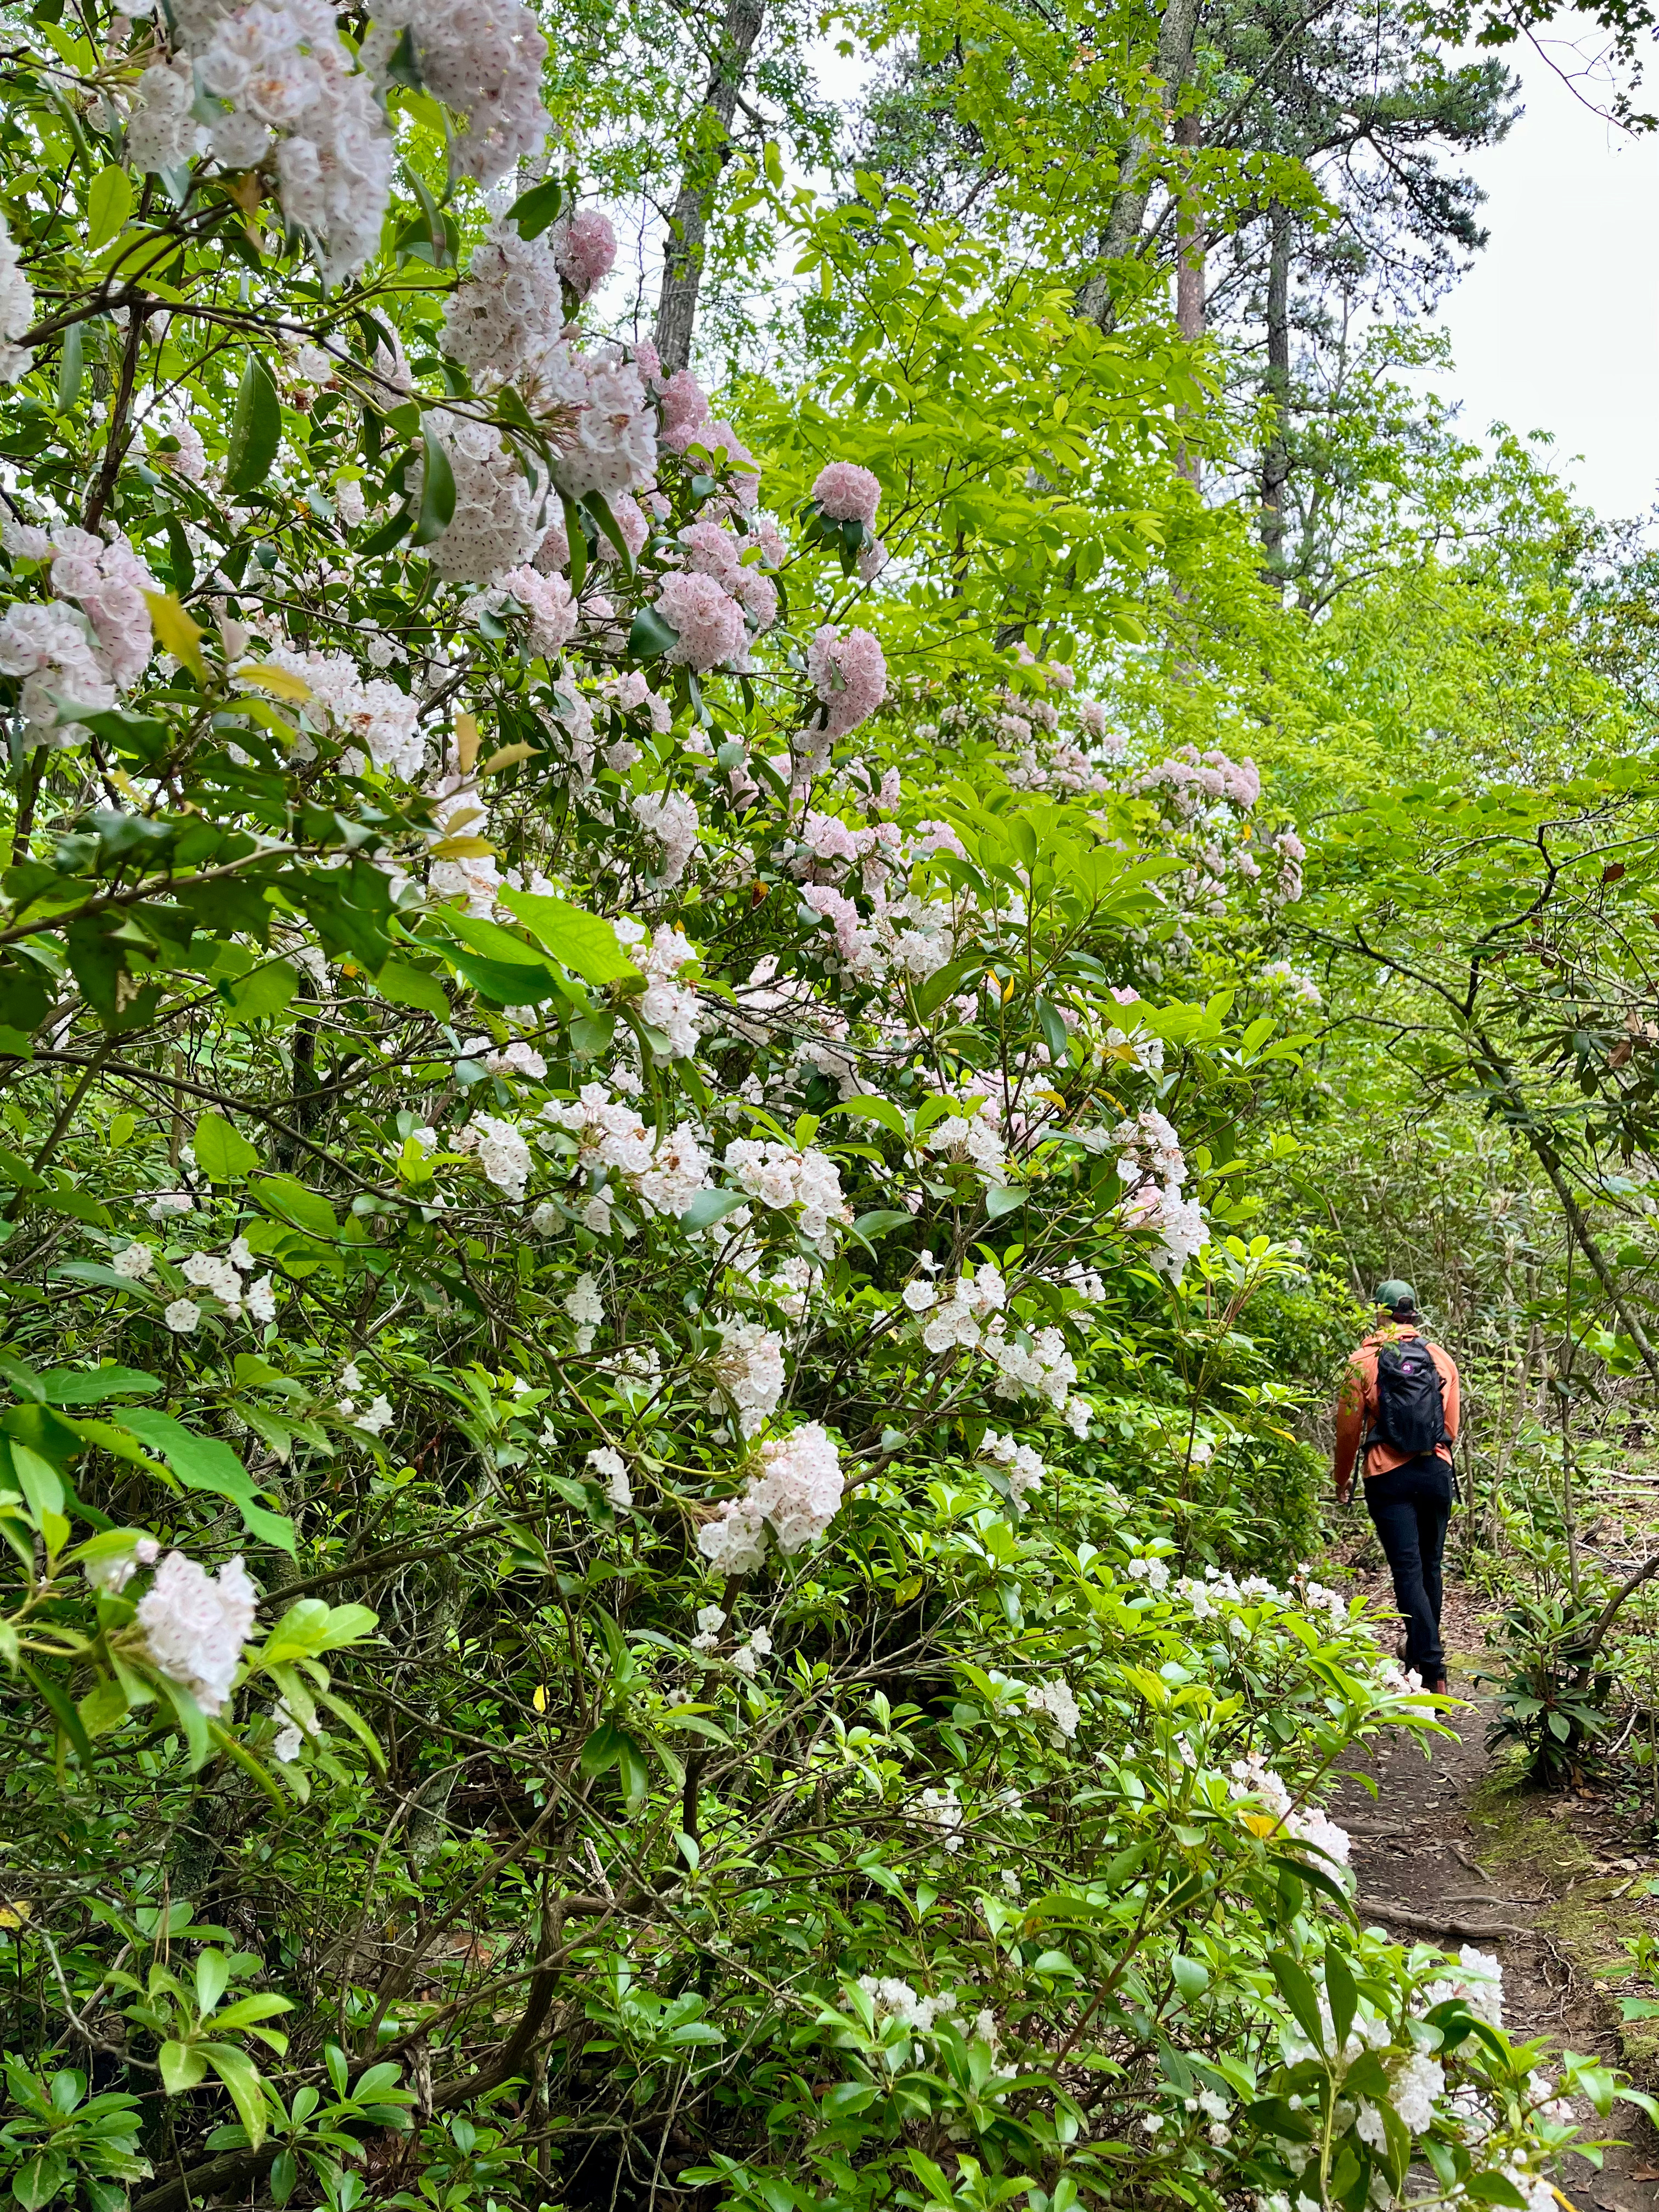
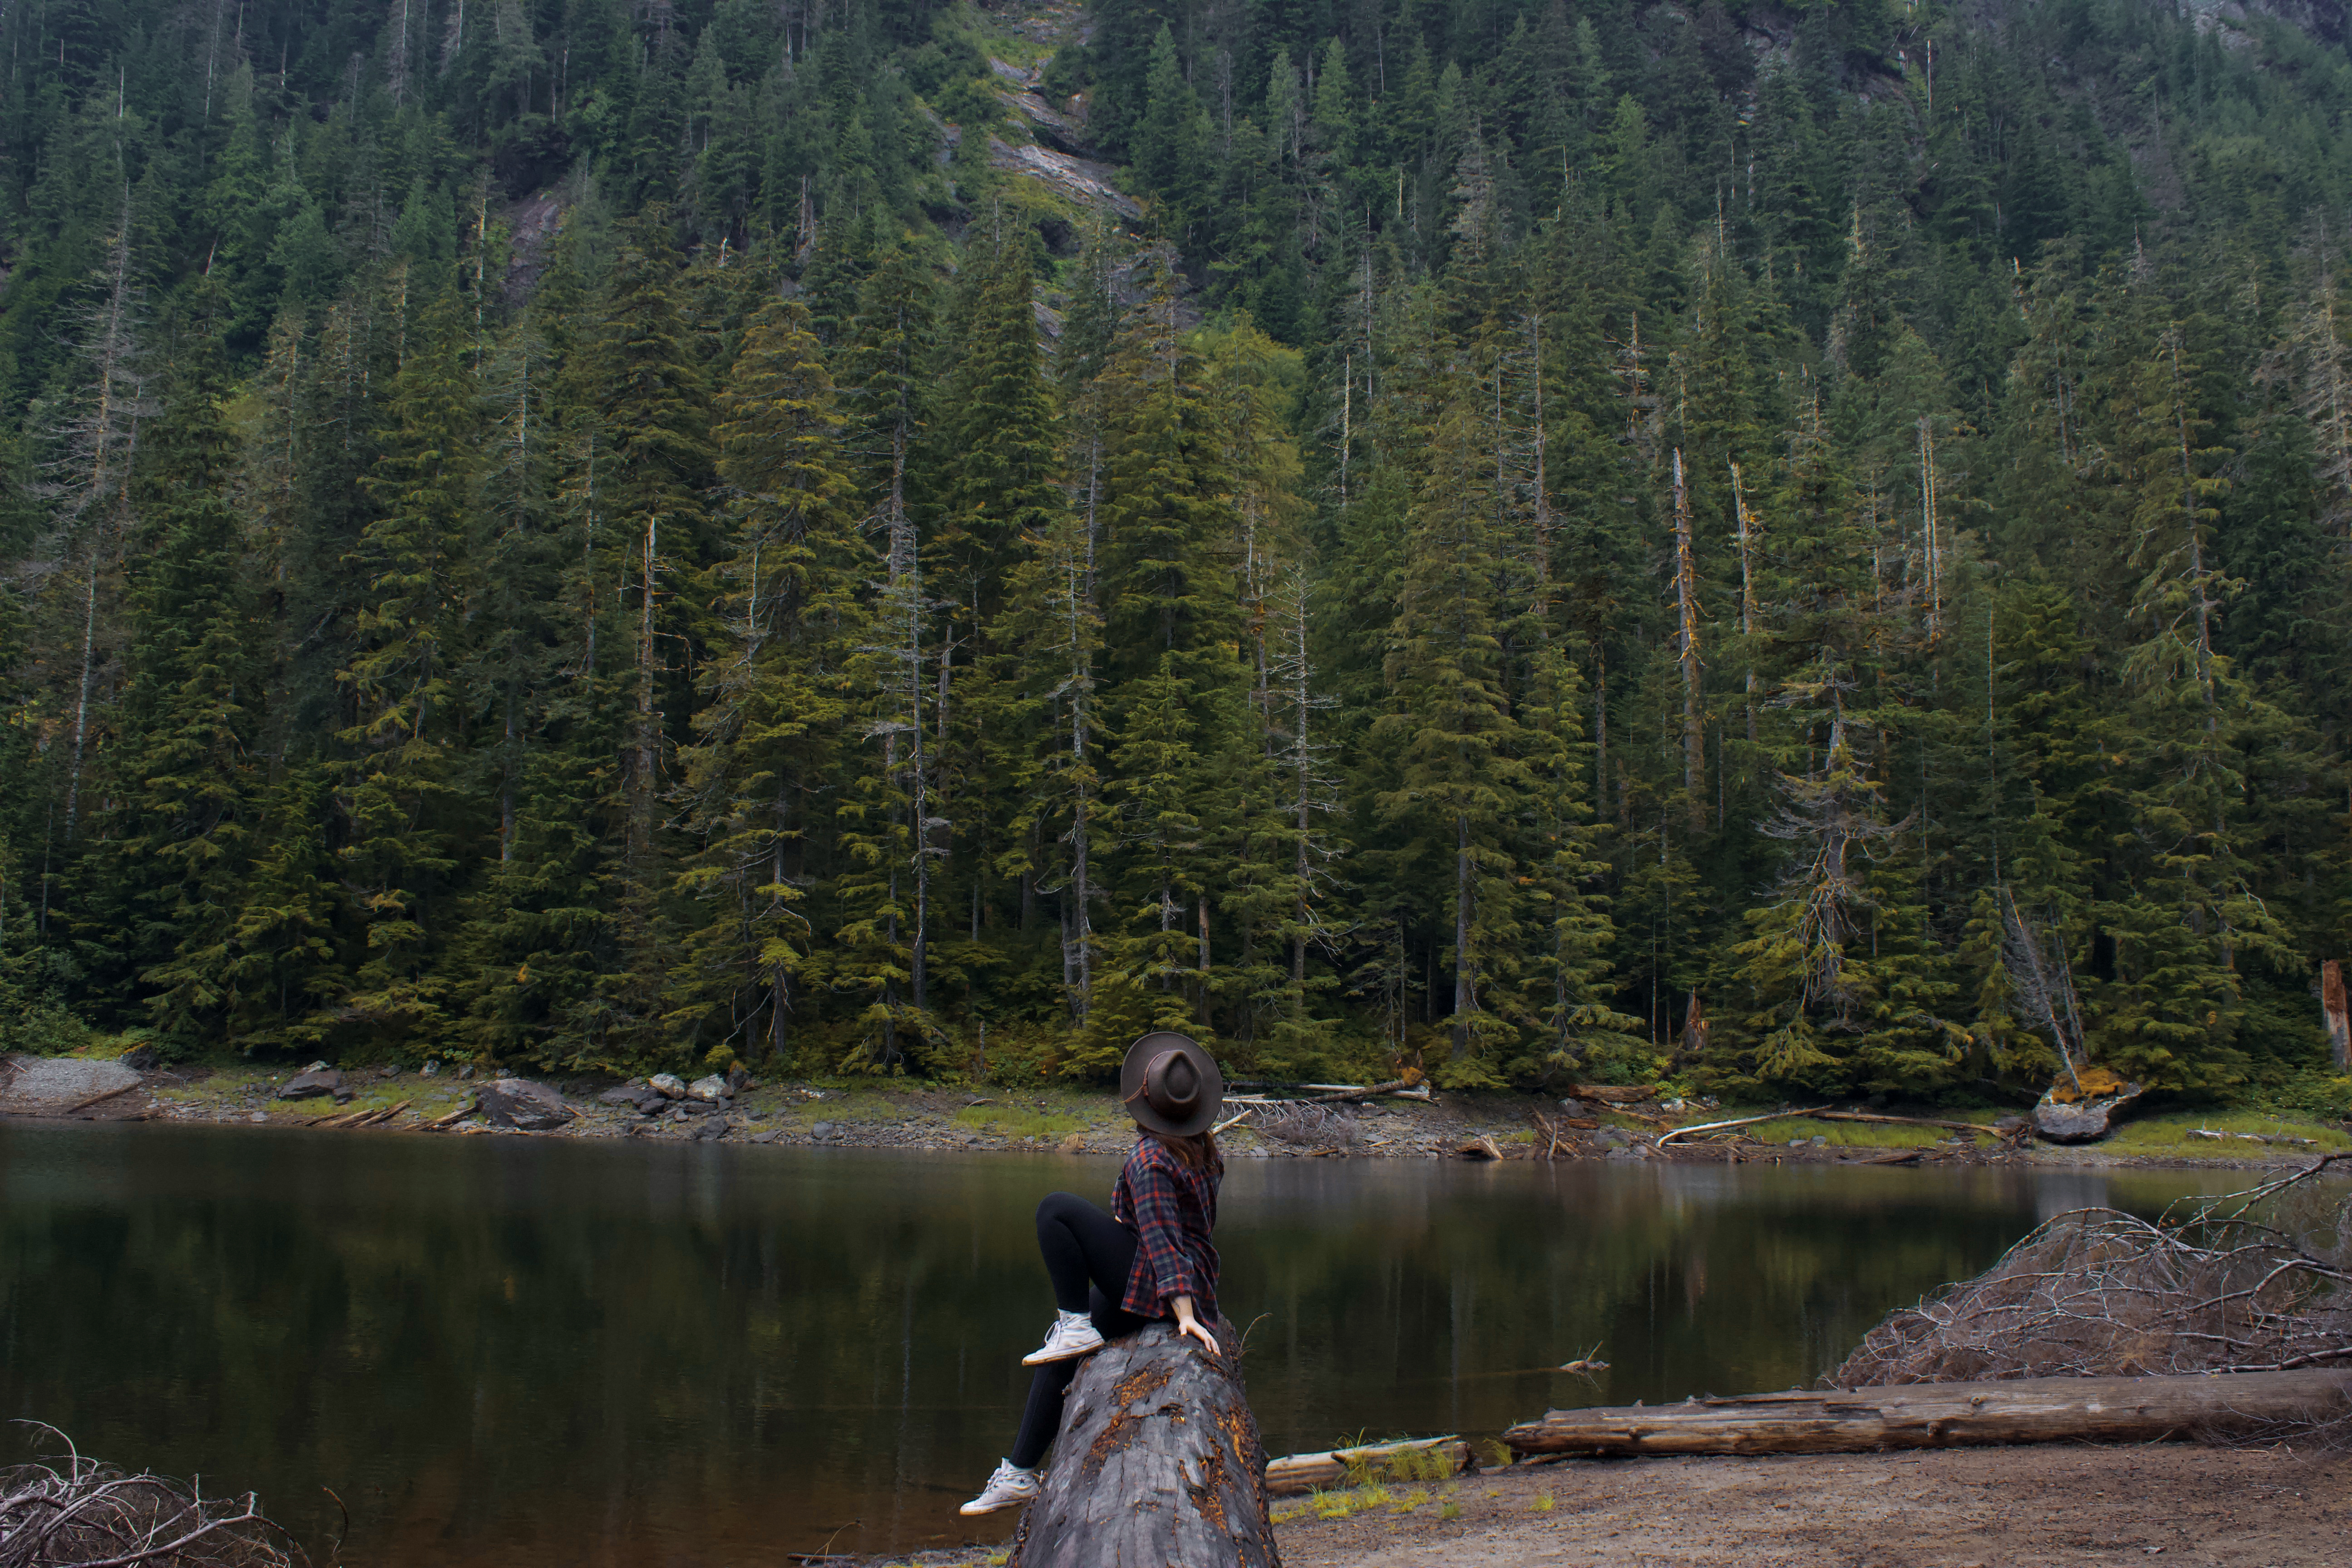
2. Raven Cliff Falls

Creepy Georgia hikes, by travel blogger Wandering the Gap

For ultimate spooky vibes, tackle the hike to Raven Cliff Falls. The almost 5-mile-long trail is relatively moderate, with just a little over 600′ of elevation gain, making it a top choice during summer. However, I think Raven Cliff Falls shines in the fall, when conditions are rainy and overcast.

You’ll have to take extra care watching your steps to ensure you don’t slip on the mud or rocks, but the effort is well worth it. Raven Cliff Falls is a gorgeous spot to bundle up and spend a chilly afternoon.

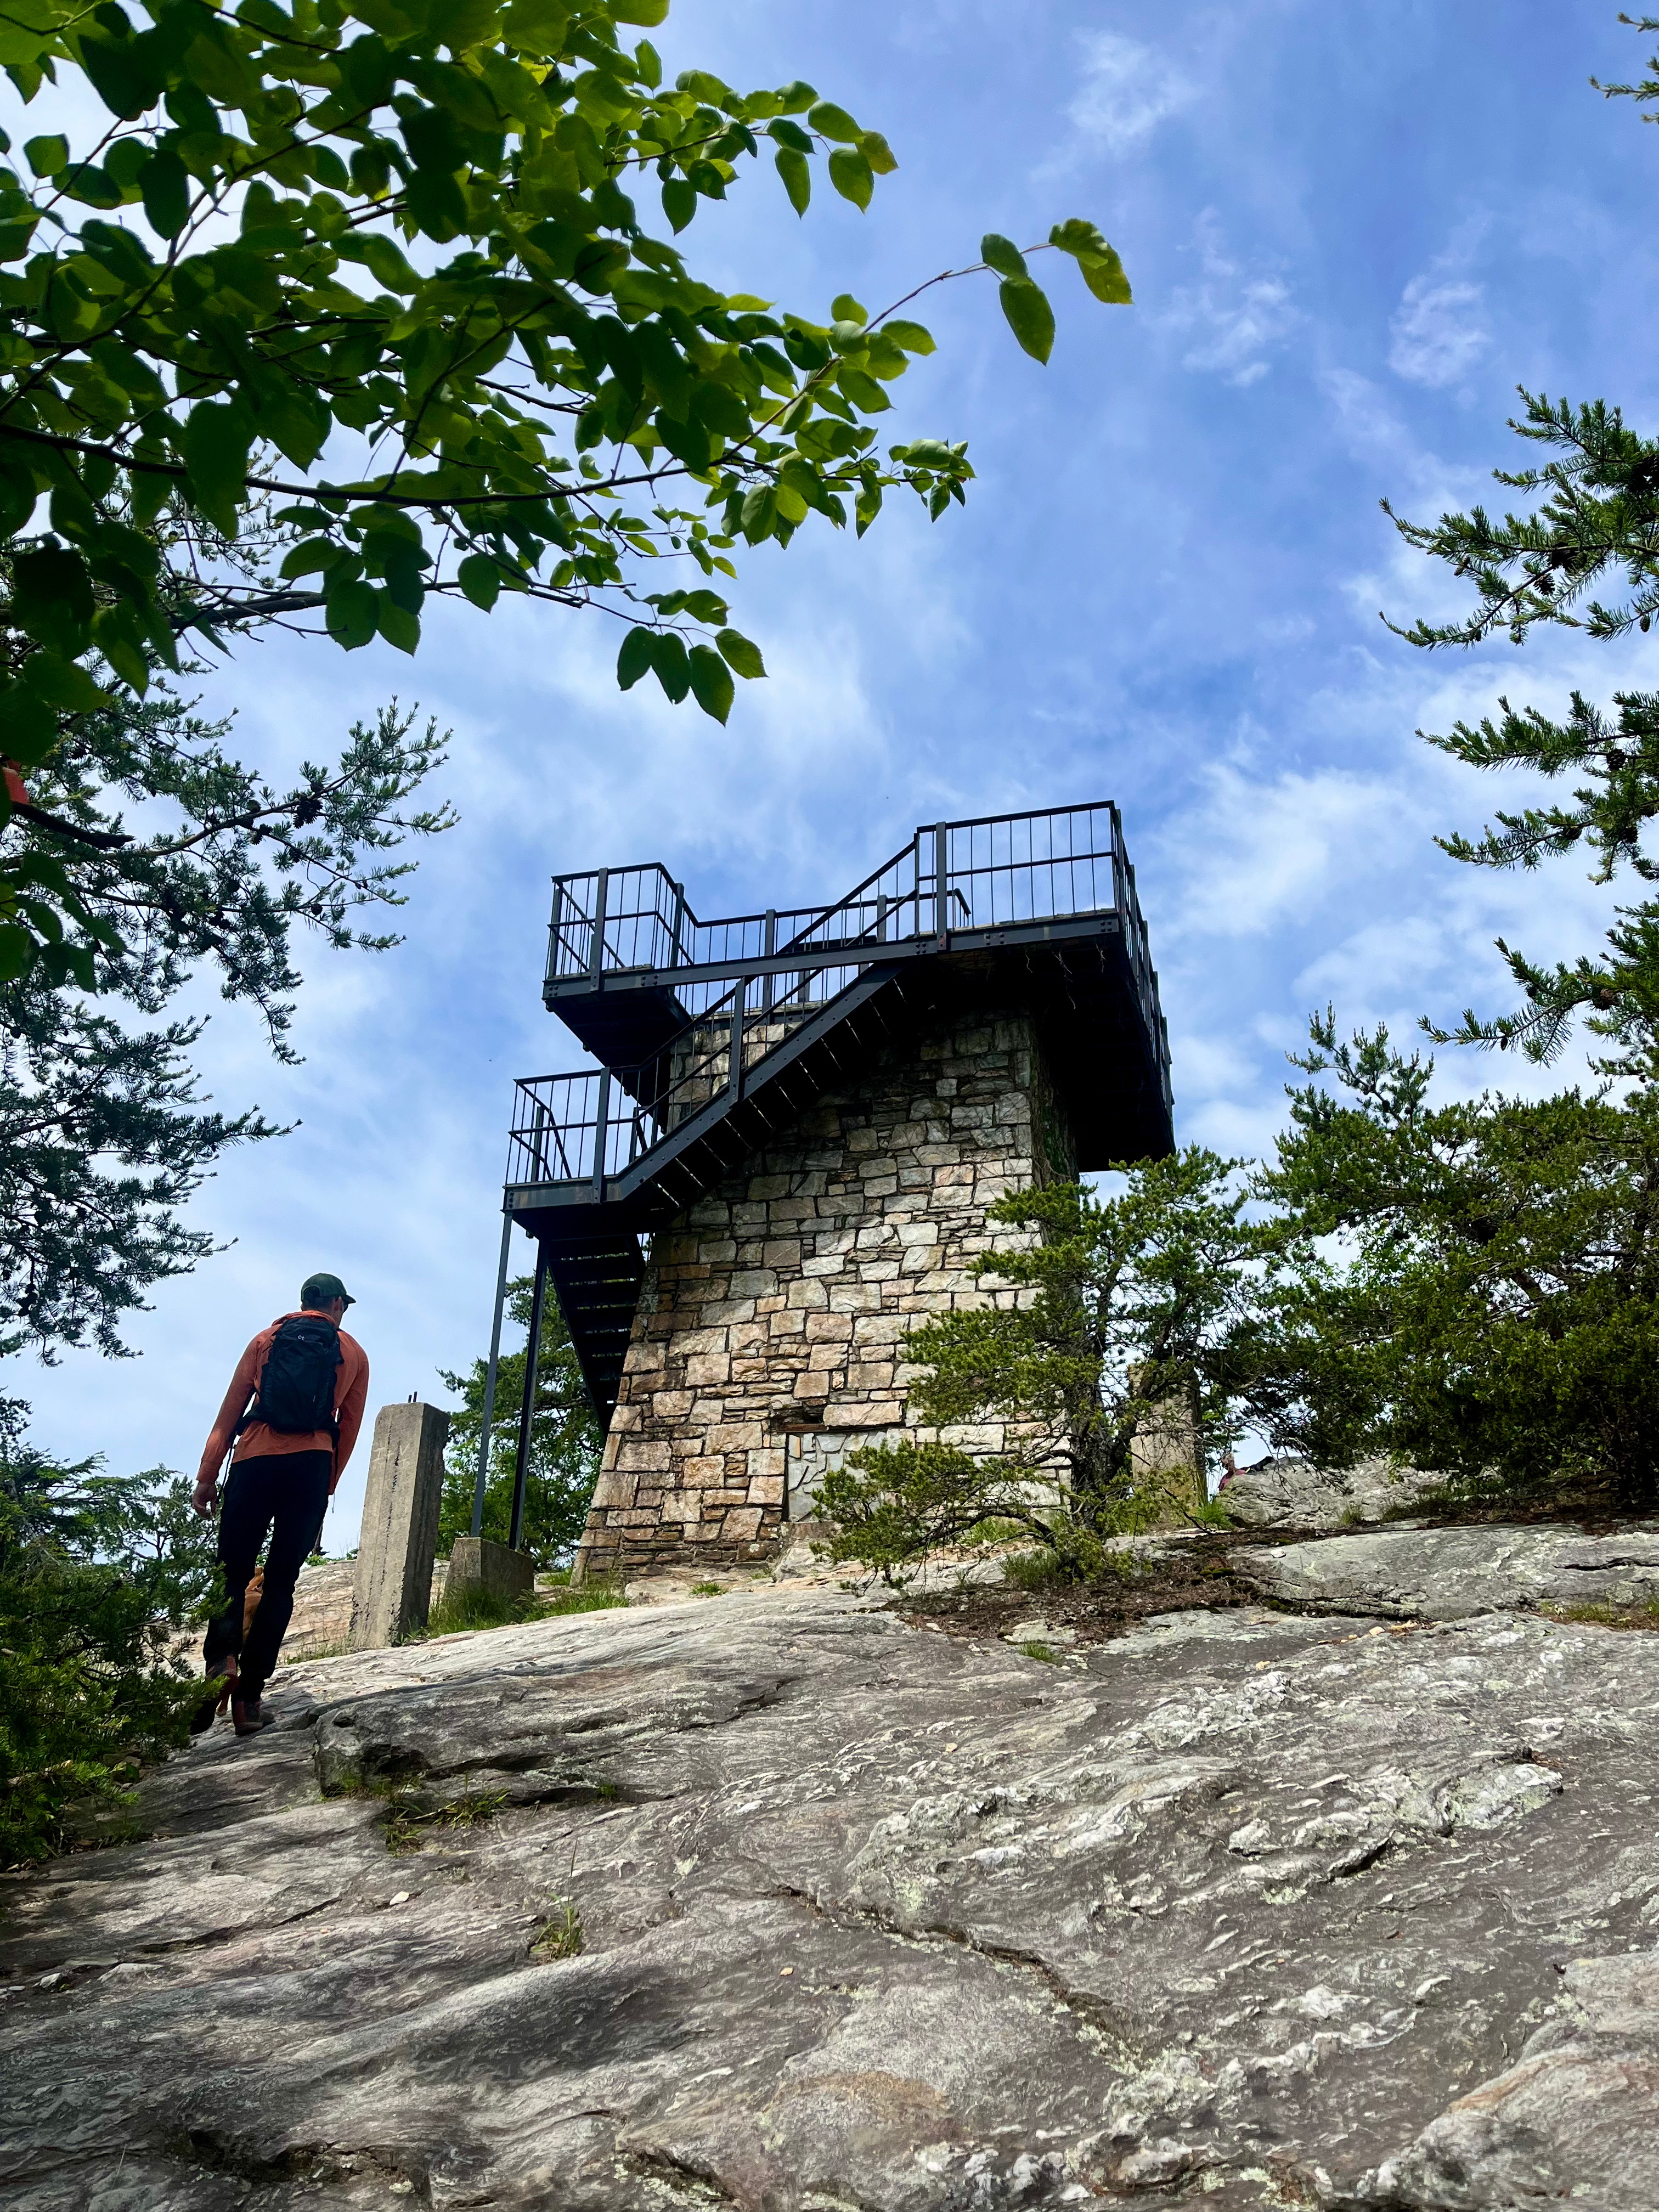
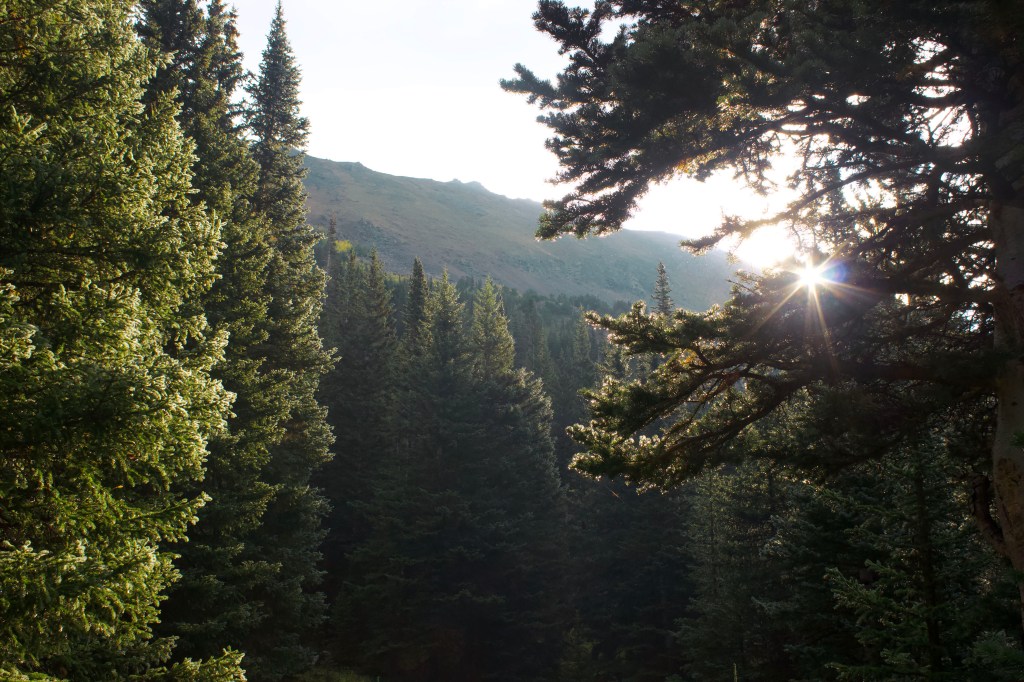
3. Springer Mountain

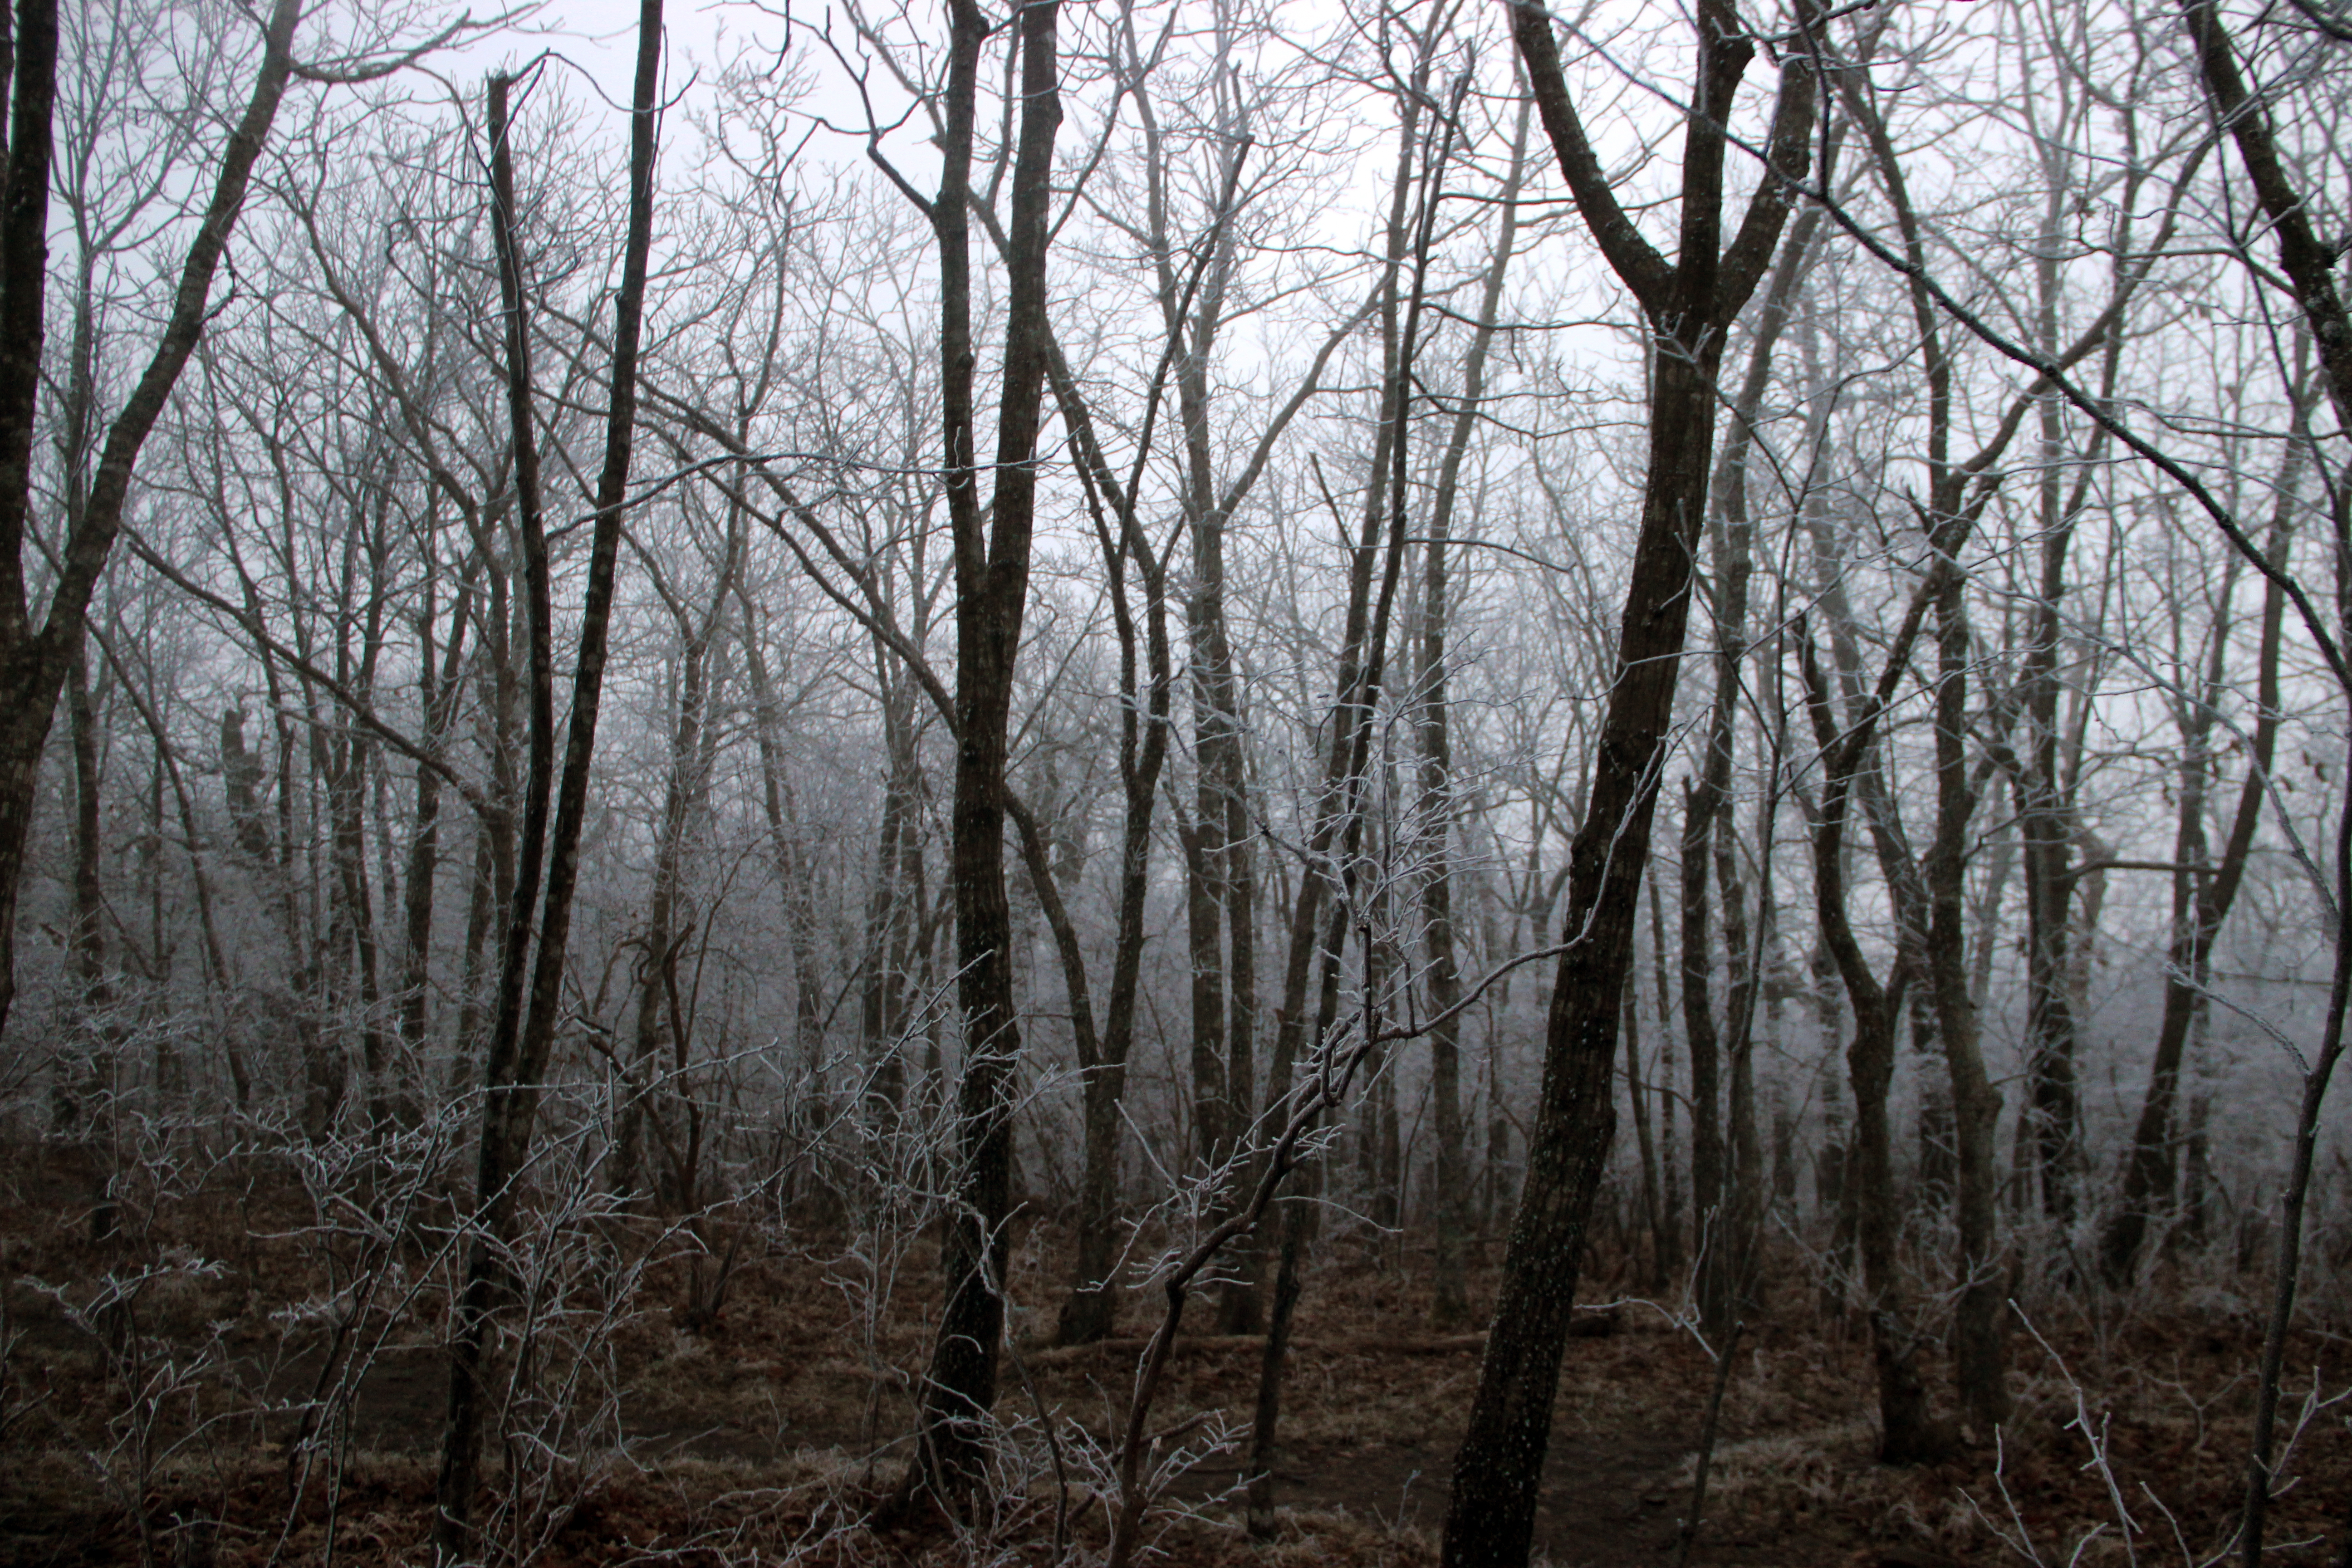
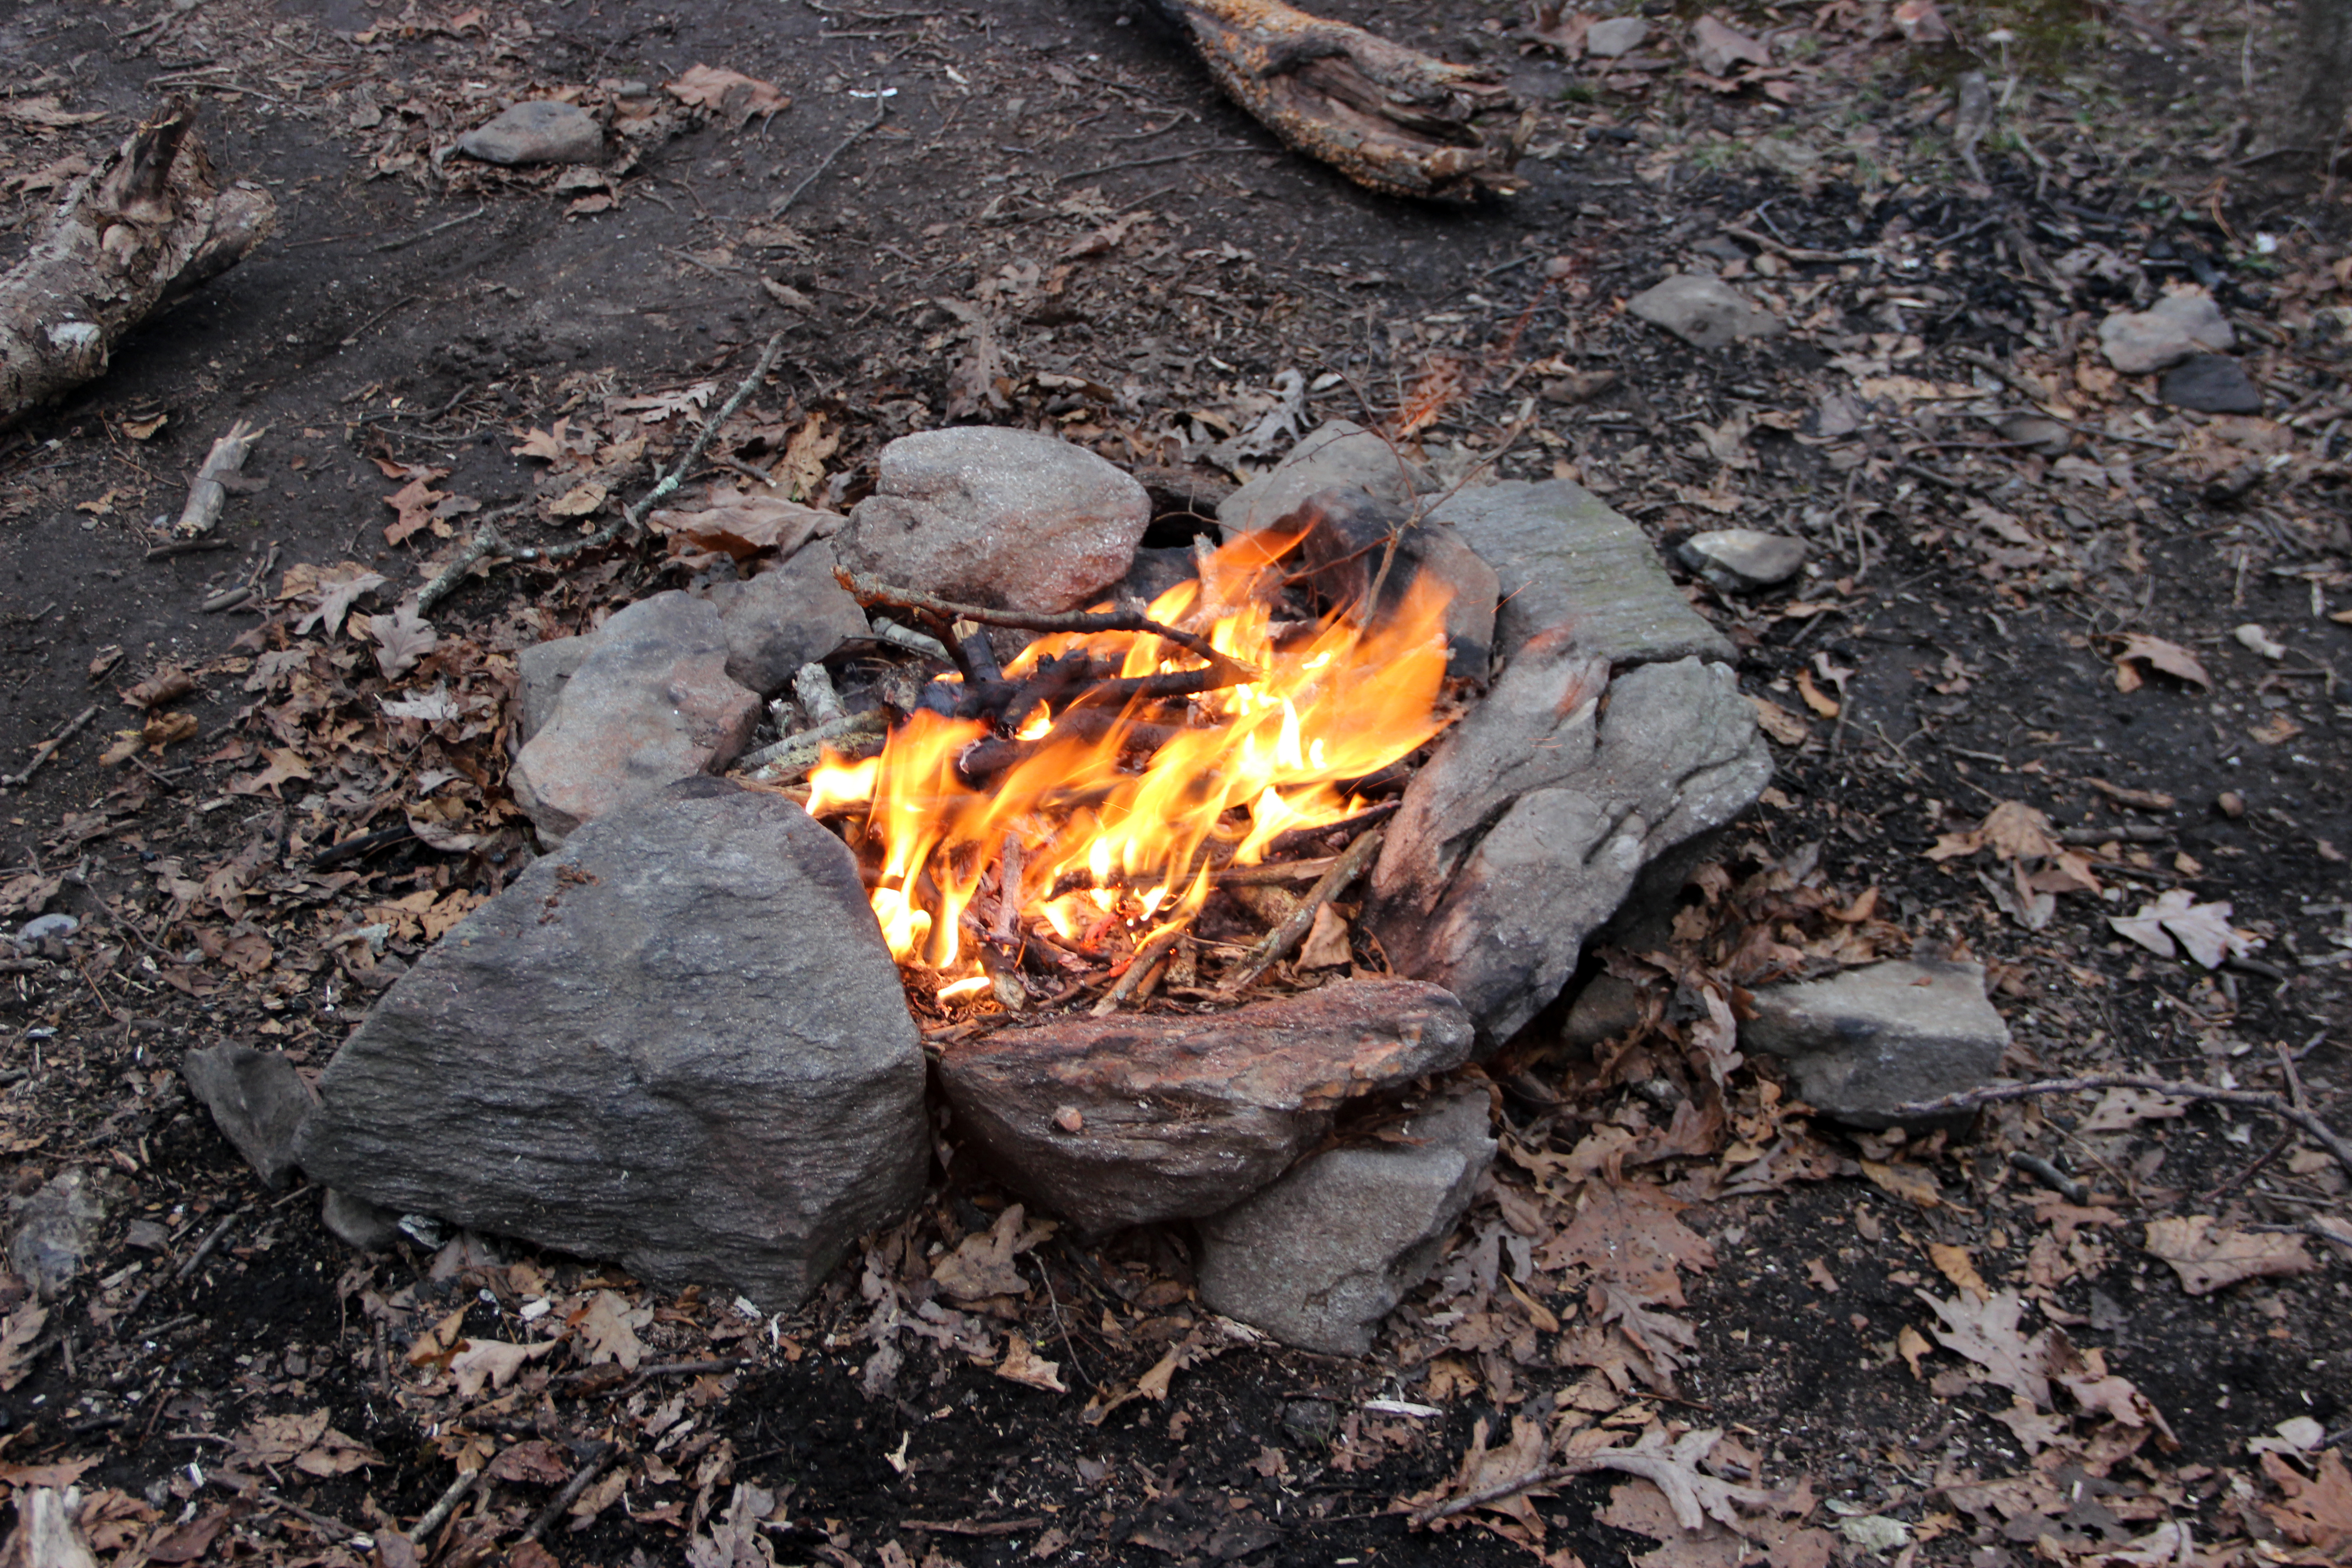
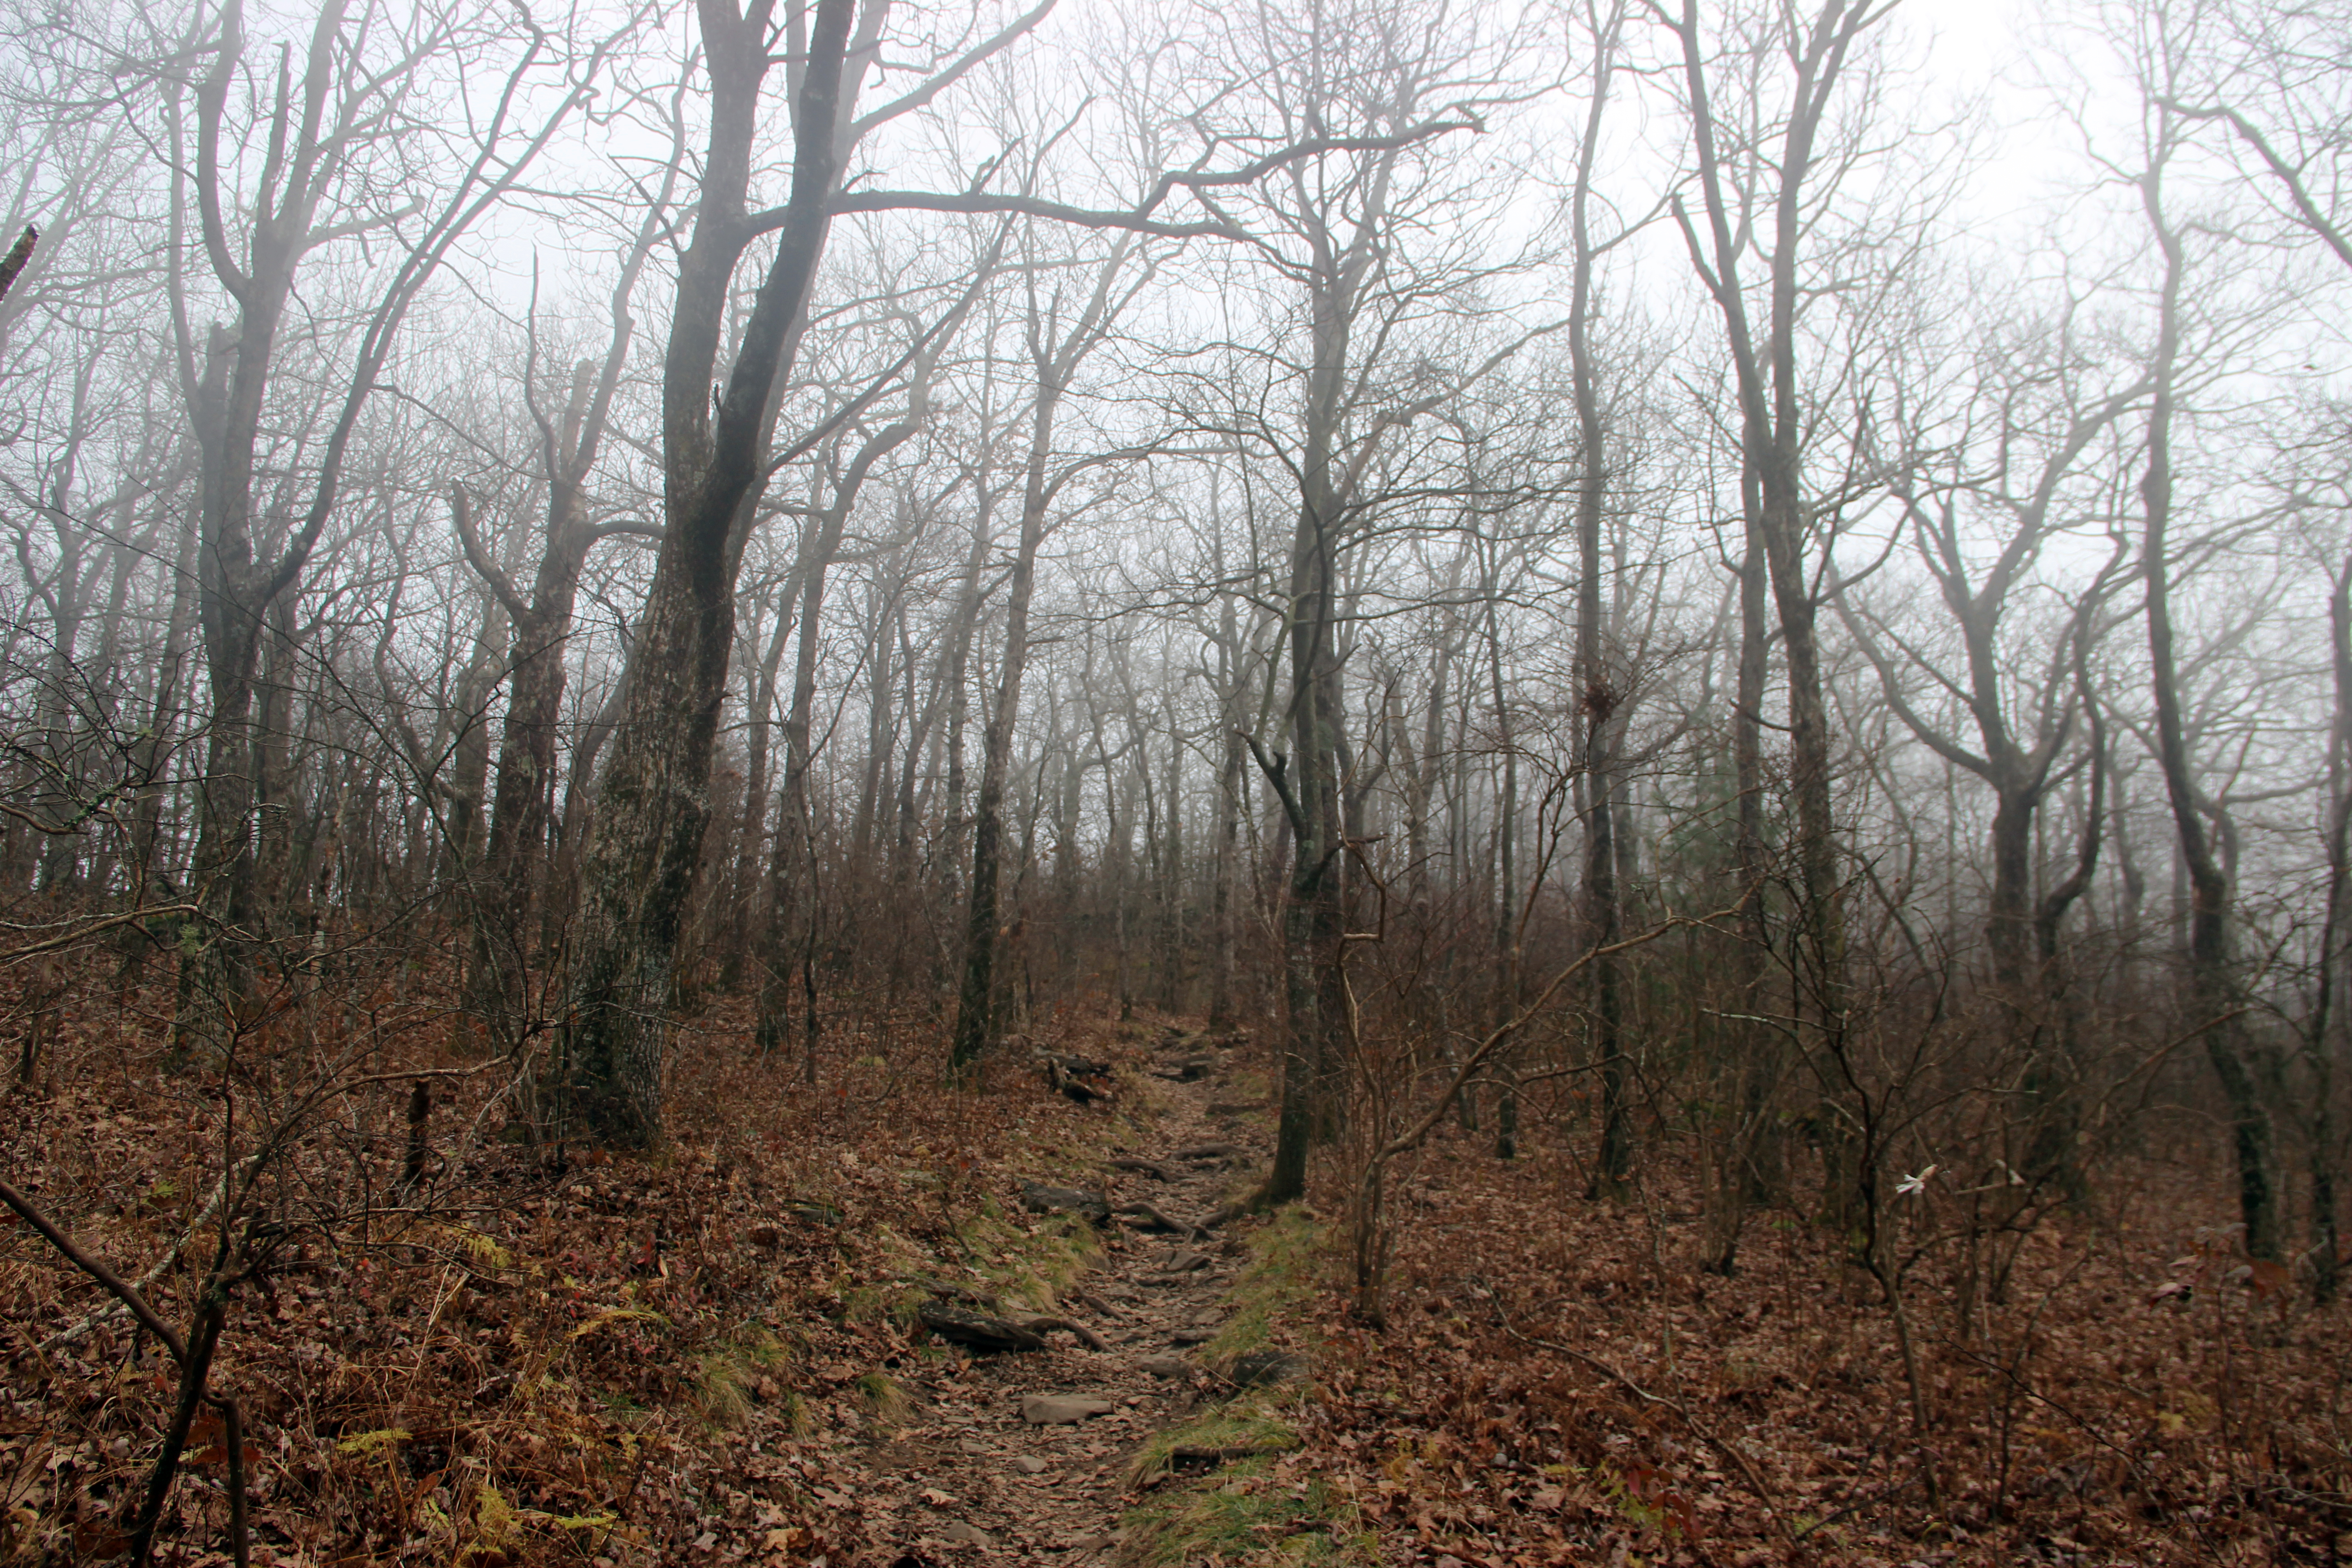
Springer Mountain is one of Georgia’s most prolific hikes, thanks to its status as the southern terminus of the Appalachian Trail. Most hikers reach the summit via the 8-mile-long Appalachian Approach Trail, which begins at Amicalola Falls. Camping at Springer Mountain is an essential trip for any Georgia-based hiker or backpacker. If you tackle it during fall or winter, you’ll likely be treated to an eerie atmosphere when mist and frost cover the summit in the early morning hours.

4. Cumberland Island

In my opinion, Cumberland Island is among Georgia’s best-kept secrets. Located a 45-minute ferry ride off the coast of St. Marys, this picturesque area features pristine shorelines, thick forests, and herds of wild horses that you can explore on over 50 miles of trails. While the entire island has a mysterious air about it (in part because it’s undeveloped and incredibly remote), Dungeness Ruins in particular are a must-see for lovers of all things eerie and offbeat.

The crumbling structure was once a 35,000-square-foot mansion first built in the 1880s. Sadly, a fire broke out in 1959 that reduced the opulent home to nothing more than bricks and stones. The ruins are a fascinating slice of history and have an undeniably creepy vibe that’s worth experiencing in person.
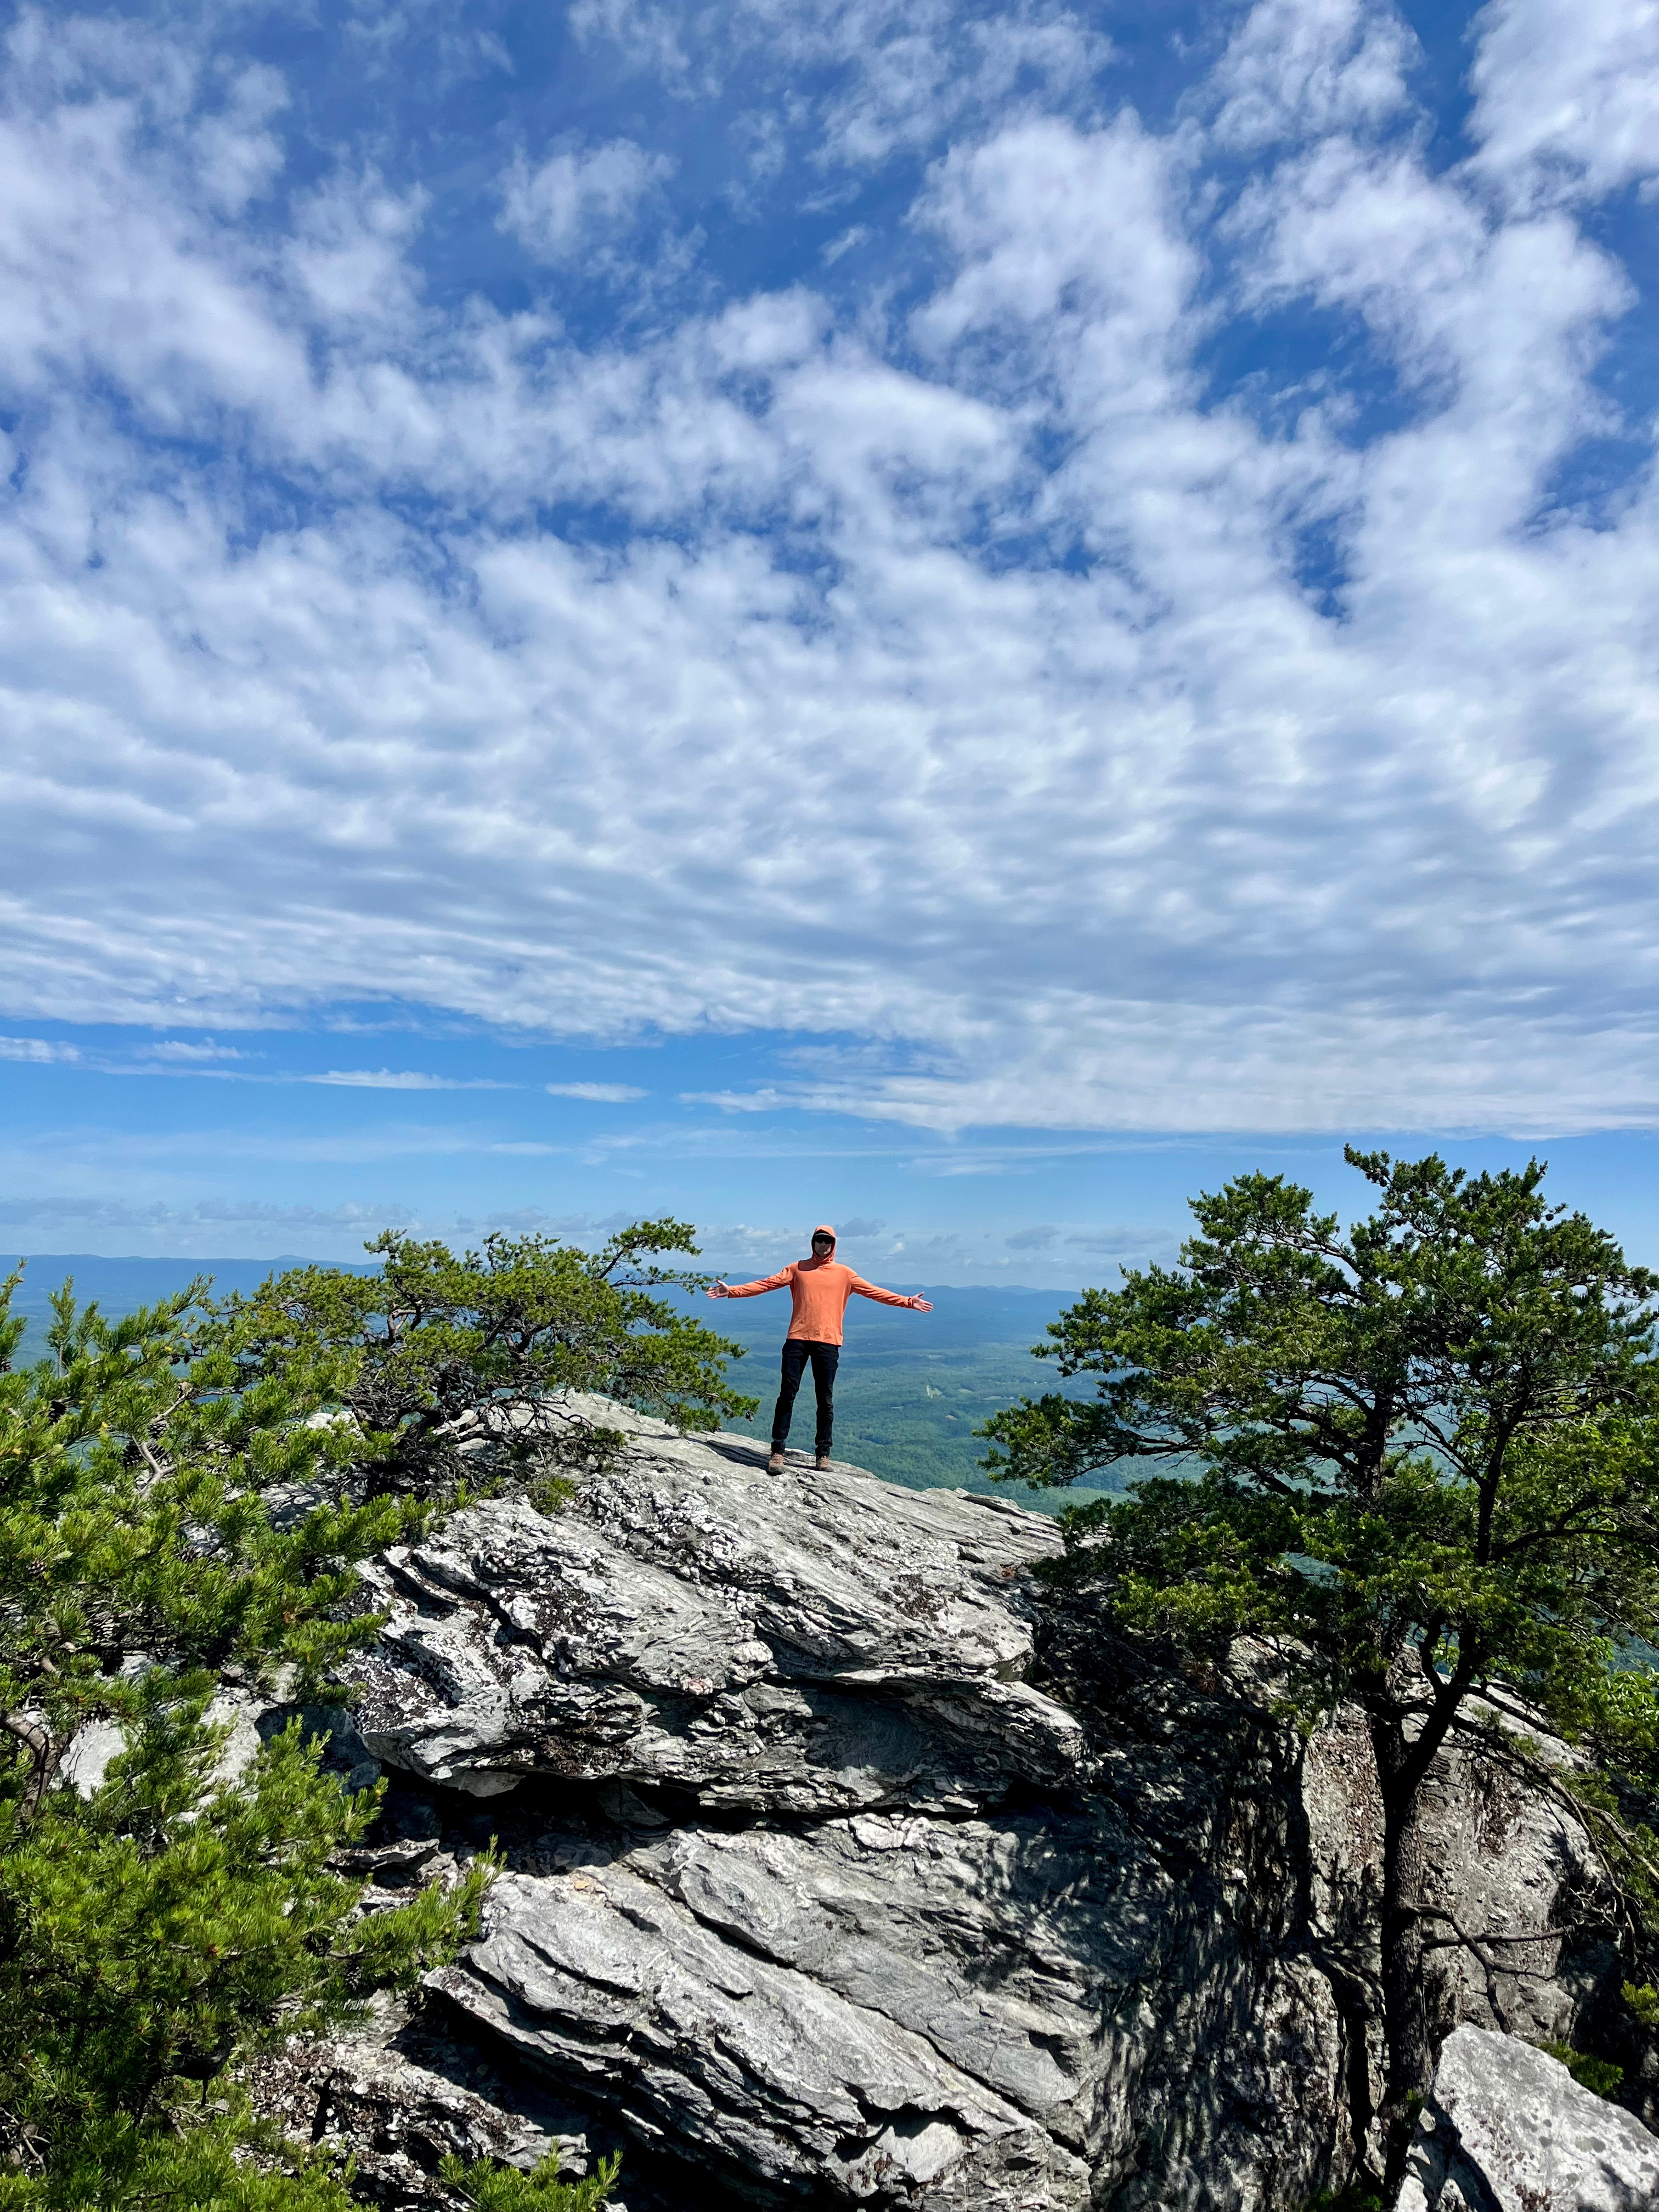
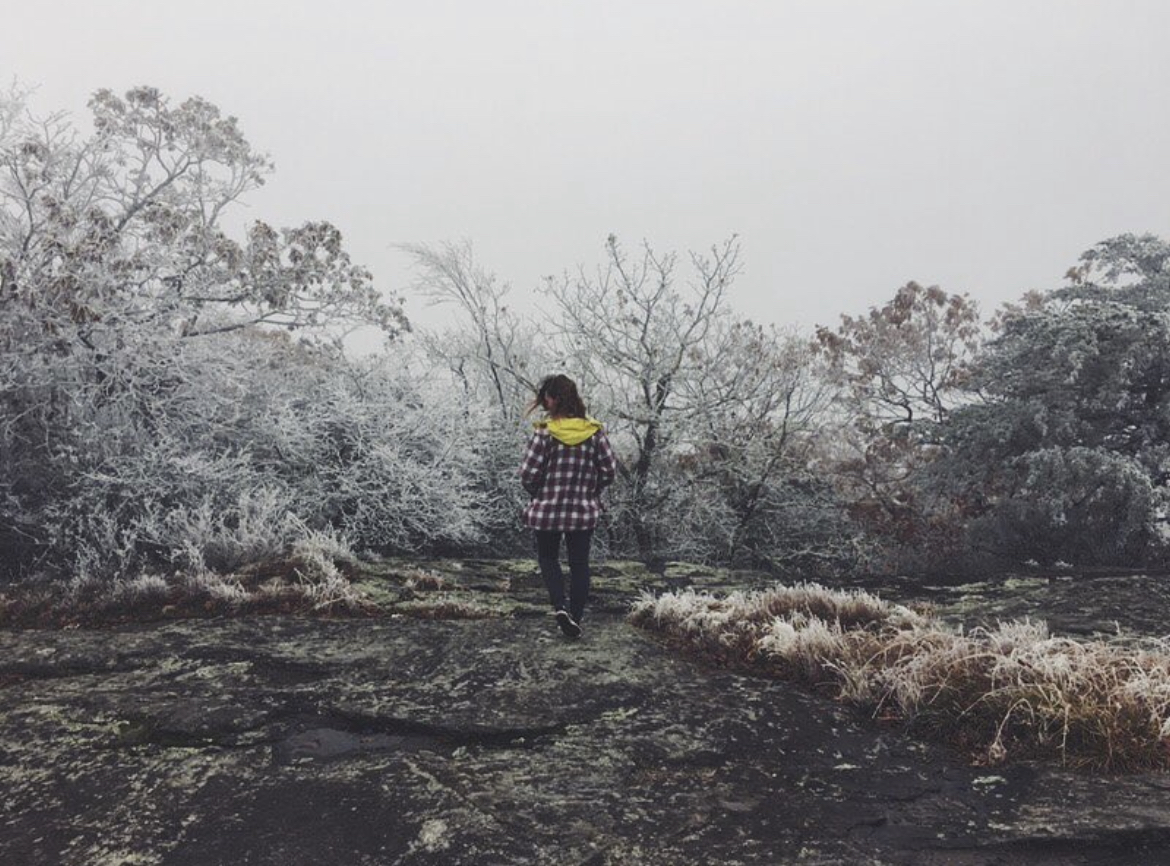
5. Mount Yonah

Though Mount Yonah is a beautiful North Georgia hiking and rock-climbing spot, the legends surrounding it are incredibly tragic. According to Native American lore, it’s the site where two lovers, Nacoochee, a Cherokee woman, and Sautee, a Chickasaw man, met their final demise. Since Nacoochee and Sautee were members of opposing tribes, the elders forbade their love. When their relationship came to light, an angry mob chased the couple to the mountain, throwing Sautee off. Nacoochee was so heartbroken that she jumped from the summit to join him in the afterlife.

Despite this dark tale, Mount Yonah is a wonderful place to visit for a few hours or camp overnight. Hiking to the summit is a nice challenge, as the trail gains almost 1500′ of elevation over about two miles. The views from the top of Mount Yonah are spectacular, especially at sunrise and sunset.


I hope my guide to the most creepy Georgia hikes inspires you to tap into your spooky side this fall!

Moore's Wall Loop Trail + KÜHL hiking pants review, by travel blogger Wandering the Gap

Moore’s Wall Loop Trail in Hanging Rock State Park, North Carolina + KÜHL Hiking Pants Review

I’ve been craving a weekend day hike, and Moore’s Wall Loop Trail was the perfect adventure! It’s located in Hanging Rock State Park, less than an hour north of Winston-Salem. The park has much to explore, with many hiking and biking trails of various lengths and difficulties. I’d love to return and take advantage of all the outdoor recreation opportunities that Hanging Rock State Park offers!

Moore’s Wall Loop Trail is a roughly 4.5-mile loop that starts at Hanging Rock Lake. Red circular markers indicate the trail, making it straightforward to follow. After a few minutes of hiking by the lake, you’ll arrive at a sign allowing you to continue straight and head clockwise around the loop, or bear right to tackle the loop counterclockwise. We opted for the clockwise route because I read the incline was more gradual from that direction.

The trail is relatively easygoing, beginning to steadily gain elevation as you continue. We started the hike around 9:30am on a Sunday and only passed a few people on the way up. The mountain laurel and rhododendrons were in full bloom and absolutely stunning.

The trail got much rockier and steeper within 30 minutes of starting our hike. At one point, we spotted a snake sunning itself on the trail—definitely keep an eye out, especially if hiking with a dog, like we were! Keep your pups on leash to stop them from accidentally stepping on one as you hike.

Around 11am, we arrived at the observation tower atop Moore’s Knob. From there, you can enjoy unobstructed 360-degree views of the surrounding mountains. It was a stunning reward for a short but challenging hike! We enjoyed the observation tower for a few minutes to snap pictures, give our dog water, and enjoy some protein bars before continuing along the loop.

I must shout out the KÜHL hiking pants I tested on this adventure. KÜHL kindly offered to send me a pair to review—I settled on the Haven Joggr and was really happy with how they performed. The pants are made with a comfortable yet durable material that was perfectly flexible but supportive as I hiked.

I’m a big fan of the drawstring waistband because zippers and buttons can sometimes get annoying and restrictive. I also love all the zippered pockets and how they’re cuffed at the bottom. Plus, the Everglade color is too cute! Thanks to KÜHL for sending me these pants—they’ve secured a spot in my go-to hiking wardrobe.

The descent from Moore’s Knob featured many stone stairs, which made me glad that we chose to go clockwise. I much preferred tackling them downhill rather than going up them! About 0.4 miles from the parking lot, you’ll pass through a campground, which involves crossing the street to stay on the trail. It can be a little confusing, but just look for the red circular dots on the road indicating where to go.

By noon, we were back at the car and on our way to Publix to grab some subs for the drive home!


I highly recommend tackling Moore’s Wall Loop Trail next time you want a tough, fun hike that isn’t too long. Let me know your favorite North Carolina hikes so I can check them out!

Best Gifts for Hikers and Backpackers | Holiday Gift Guide 2024

‘Tis the season for holiday shopping and gift-wrapping! I was recently inspired to share a video on my YouTube with gift ideas for National Park lovers. While making it, I started to think about all the helpful hiking gadgets and accessories I’ve accumulated over the years.

Truthfully, you don’t need much to start backpacking other than the obvious: a sleeping bag, a water purification system, food, etc. However, having a few small extras on hand can dramatically improve your experience on the trail.

Here’s my official holiday gift guide for hikers and backpackers!

1. Seat Pad

A seat pad is pretty much exactly what it sounds like: a compact, cushioned pad that gives you something to sit on other than the ground. It’s a handy accessory for taking a load off while you’re making food around the campfire after a long day of hiking.

I’ve had the Therm-a-Rest Z Seat for years and highly recommend it, but there are plenty of cheaper options that work just as well. I like how this seat pad folds up with a bungee closure so I can tuck it into an exterior pocket on my pack for easy access.

Holiday gift guide for hikers and backpackers, by travel blogger Wandering the Gap

2. Water Shoes

Every hiker needs a solid pair of water shoes for creek crossings. They’ll save you from hiking around in wet socks and shoes—a recipe for blisters. A lot of people go for Chacos or Crocs, but I’m a fan of the Teva Original Universal Sandal (which I’m holding in the picture above) because it’s comfortable and lightweight.

3. Satellite Device

In my opinion, a satellite communication device is an essential safety item for backpacking. Most wilderness areas have limited or nonexistent cell service, making it challenging to stay in touch with friends and family or get help in an emergency.

Satellite communicators are an excellent tool for sending updates to loved ones and calling for help during your backpacking trips. I have a Garmin inReach Explorer which is now discontinued, but the brand has other similar versions like the inReach Mini 2.

4. Solar Lantern

While a solar-powered lantern isn’t a backpacking necessity, it is fun to have. I’ve owned a LuminAID for years and it’s come in handy many times.

I don’t notice it hanging on my backpack while I hike because it folds flat, and it provides the perfect amount of light. I usually pull the lantern out in my tent at night when I’m settling in for bed so I don’t waste my phone or headlamp battery.

Holiday gift guide for hikers and backpackers, by travel blogger Wandering the Gap

5. Shoe Gaiters

Help your favorite hiker stay comfortable on the trail with a pair of shoe gaiters. These footwear accessories clip onto the outside of your sneakers or boots to block dirt, rocks, and other debris. They can make a world of difference, helping you cut down on the number of times you have to stop and shake your shoes out.

While there are many gaiter styles available, I like low trail/running gaiters—my Outdoor Research gaiters (which I’m wearing in the picture above) are super old but still get the job done. There also tall versions that cover almost the entire leg, as well as waterproof options.

6. Microspikes

If you’re shopping for someone who frequently hikes in the show, consider gifting them a pair of microspikes. Microspikes are typically made of rubber, with small metal parts that give you traction when hiking in slick conditions.

They slip onto the bottom of your shoe to provide extra grip when navigating snow or ice. Kahtoola is one of the most popular and trusted microspike producers, but most within the $50-75 range should be fairly high-quality.

7. Neck Gaiter

A neck gaiter is somewhat similar to a shoe gaiter, but its main purpose is to block the sun. Brands like BUFF make these versatile all-season pieces. They’re commonly worn around the neck (hence the name) but can be used in many ways.

In a pinch, you can turn the gaiter into a face mask, hood, balaclava, and more. Make sure the fabric is moisture-wicking and breathable—UPF protection is also a bonus.

Diamond Lake in Indian Peaks Wilderness

Diamond Lake Trail, located in Indian Peaks Wilderness, is a moderately challenging out-and-back hike with beautiful views of Diamond Lake and the surrounding peaks. Altogether, the hike is about 5.4 miles in length and gains roughly 1,220 feet in elevation.

Pro tip: make sure to check the weather frequently, as it can change very quickly in the mountains. The forecast the night before we hiked was clear but we ended up getting rained on about a mile into the hike and again during the last quarter mile! Which reminds me…

Pro tip: ALWAYS pack rain gear (if space/weight in your pack allows) – even if the forecast is clear.

The hike begins on Arapaho Pass Trail which departs from the end of Fourth of July Road, just past the town of Eldora. The trail will lead you gradually uphill through dense forests, until you reach a junction at about 1.2 miles, where you’ll bear left to begin on Diamond Lake Trail.

From here, the trail gradually descends, leading you over a creek crossing. After the creek, you’ll begin ascending once more until you reach Diamond Lake after about a mile. Diamond Lake offers lots of options for walking around and exploring the surrounding meadows!

Barclay Lake Revisited

Check out the original photo diary from my last visit right here!

Barclay Lake is a fantastic day hike located in the Cascade Mountains of Washington. If you’re looking for a relatively short and family-friendly hike, this trail is a great option!

Pro tip: don’t forget your Northwest Forest Pass! For more information, visit fs.usda.gov.

The trailhead for Barclay Lake is located near the town of Baring at the end of a fairly rugged forest service road. This trail is super popular so make sure you arrive early to claim your spot at the trailhead parking lot. This 4.4 mile out-and-back trail departs directly from the trailhead, leading you gradually downhill through a thick forest. Eventually, you’ll begin to follow Barclay Creek, meandering your way through dense foliage.

Pro tip: If you visit on a clear day make sure to keep an eye out for some views of Mt. Baring along the way.

You’ll gain about 200 feet of elevation as you head to the lake, and after about a mile you’ll cross a bridge over Barclay Creek which is a great photo op! It won’t be long before you reach Barclay Lake itself, a picturesque Pacific Northwest lake framed by evergreens and jagged peaks.

Pro tip: be prepared for the lake’s water level to vary significantly depending on the time of year you visit. When I first visited in July 2020, the lake was fairly high, but this time around in August, it was significantly lower.

There are a number of campsites and opportunities to take a lakeside snack break as you meander around Barclay Lake. No matter where you stop for a rest or set up camp, you’ll be treated to some gorgeous views in a peaceful and serene setting.

Barclay Lake is one of my favorite hikes in Washington, and I’m sure it’ll become one of yours too! Let me know in the comments if you’ve visited Barclay Lake before and what your thoughts were.

Directions: from the town of Monroe, head east on US-2 toward Baring. After roughly 25 miles you will see The Baring Store on your right; at this junction, turn left onto 635th Place NE. You will cross over railroad tracks and soon the road will become unpaved. Follow this road for about 4 miles until you reach the Barclay Lake Trailhead. More detailed information available at WTA.org.